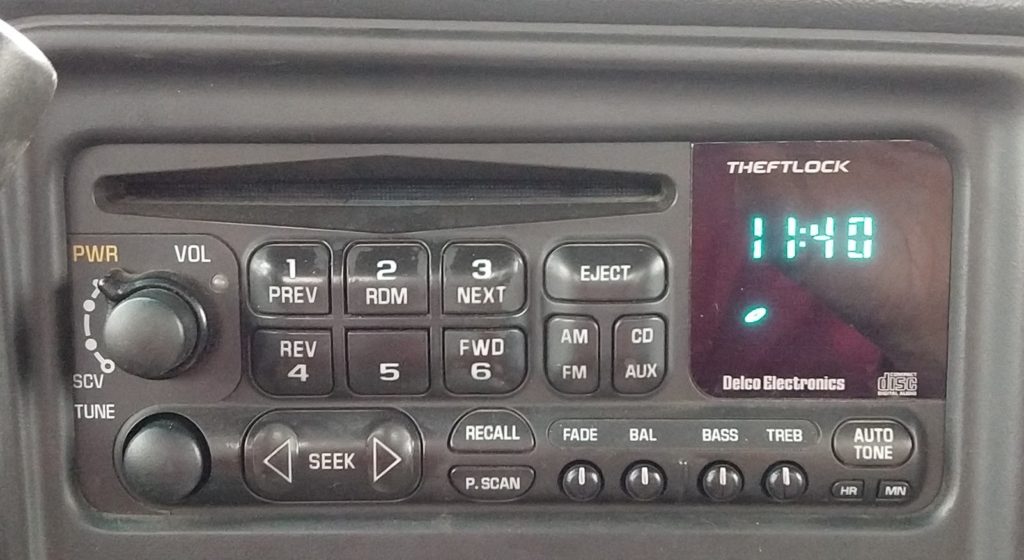
This is one way to add an aux audio input to a Delco stereo in a 2000 Chevy Silverado. My goal in posting this is to help someone else who wants to do the same thing. It was a struggle to track down information on the topic among all the dead links, 15 year old forum discussions, and vague product descriptions. The stereo I have is model number 15763279 (this info may apply to other models, but this my only one):
Here were the options:
- Replace the stereo. This seems like cheating, also probably the most costly choice.
- Intercept the audio coming from the CD changer. Don’t have one of these. The idea here is to snip the right and left channels and run them to a switched 3.5mm TRS jack; when a jack is inserted this breaks the connection to the CD changer and substitutes the signal from the source that is plugged in. This is done somewhere outside the stereo itself (which is nice), between the plug in the back of the unit and the other end of those wires. A drawback to this is that it requires the CD changer to be playing if you want to use the input which sounds sloppy and also won’t work if your CD changer has any sort of malfunction.
- Intercept the audio from a remote/slave CD or tape player. Also don’t have either of these. Same drawbacks as #2. I recall reading a post that linked to a disc image to burn a “silent” audio disc because some folks were having some noise bleeding over from the original source; my guess is that there was an issue with their jack.
- Intercept the audio from the internal CD player. Same idea as #2 and #3, but done inside of the stereo. Benefit here is that you don’t have to have a functional remote CD/tape player. Drawbacks are that you still have to have the CD playing in order to use the input, not to mention opening the unit, identifying the right wires, snipping them, making room for a jack in the face, soldering, realizing you got the wrong wires, snipping, soldering, etc., etc.
- Intercept the audio from the antenna. Same as #4, but leaves you with mono instead of stereo. Potentially easier because there is one fewer wire?
- Make an adapter that plugs in to the remote source connector. This was my preferred option, but I didn’t follow through with it for a couple of reasons: it’s not as simple as applying voltage to a pin or two – you need to emulate the communication from the changer, and I didn’t have a changer handy to even start working that out. I think this would be a great Arduino project, but I only needed to do this once so I probably won’t revisit.
- Install some aftermarket adapter. Ideally these emulate a remote source and allow the stock stereo to accept audio from whatever you plug in. This truck is two decades old now, it was tough to find information among all of the dead links and discontinued products.
- GM9-AUX. Appears to emulate a CD changer. Will disable whatever remote audio source you did have (if any). Discontinued, and the company “P.I.E.” that manufactured it no longer exists (acquired by the “isimple” brand). Sounds like a good choice if you could get ahold of one.
- AAI-GM9. Probably doesn’t emulate a CD changer. Application notes mention that you need a functional slave unit to use it, so this is most likely the same as #2 above. Seems like it is still available, but won’t work for this application.
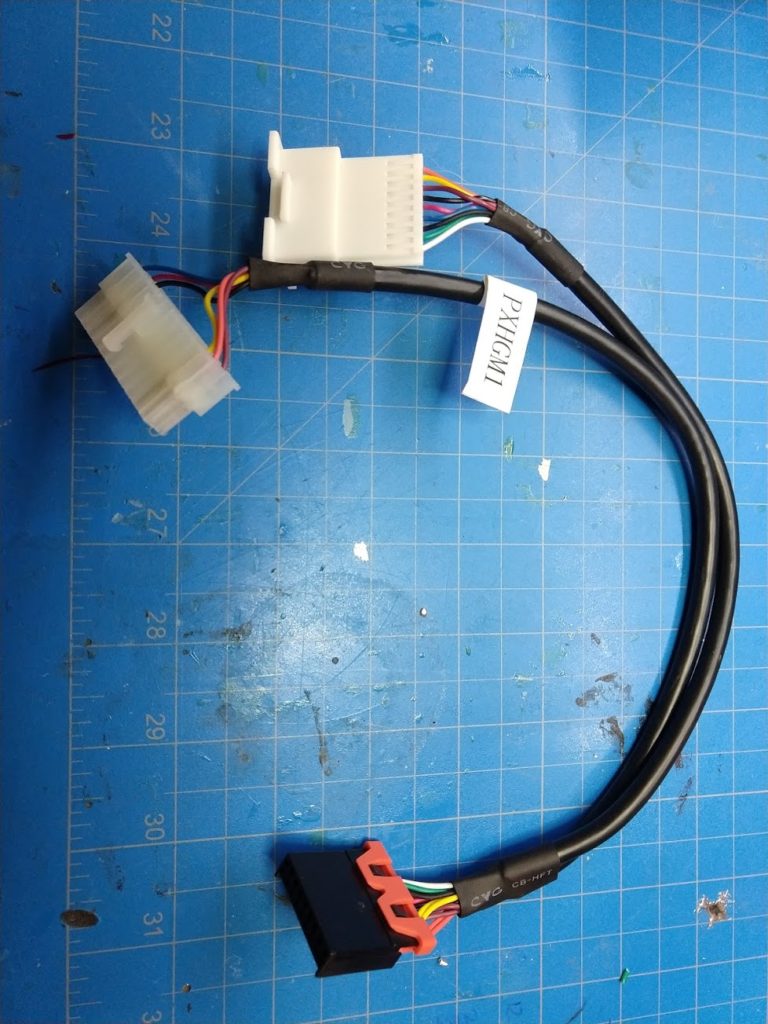
- PXDX / AUX2CAR. Emulates a CD changer. Says it will disable any existing remote source if you have one, but what makes it different from the AAI-GM9 is that it doesn’t require that you have it in the first place. Currently branded “isimple”. This box is universal-ish and has a set of dip switches to configure it for the application, and also requires an adapter harness PXHGM1 which is labeled “95-02 GM 9-pin”. I linked a copy of the manual below which includes a list of vehicles it works on as well as the dip switch settings.
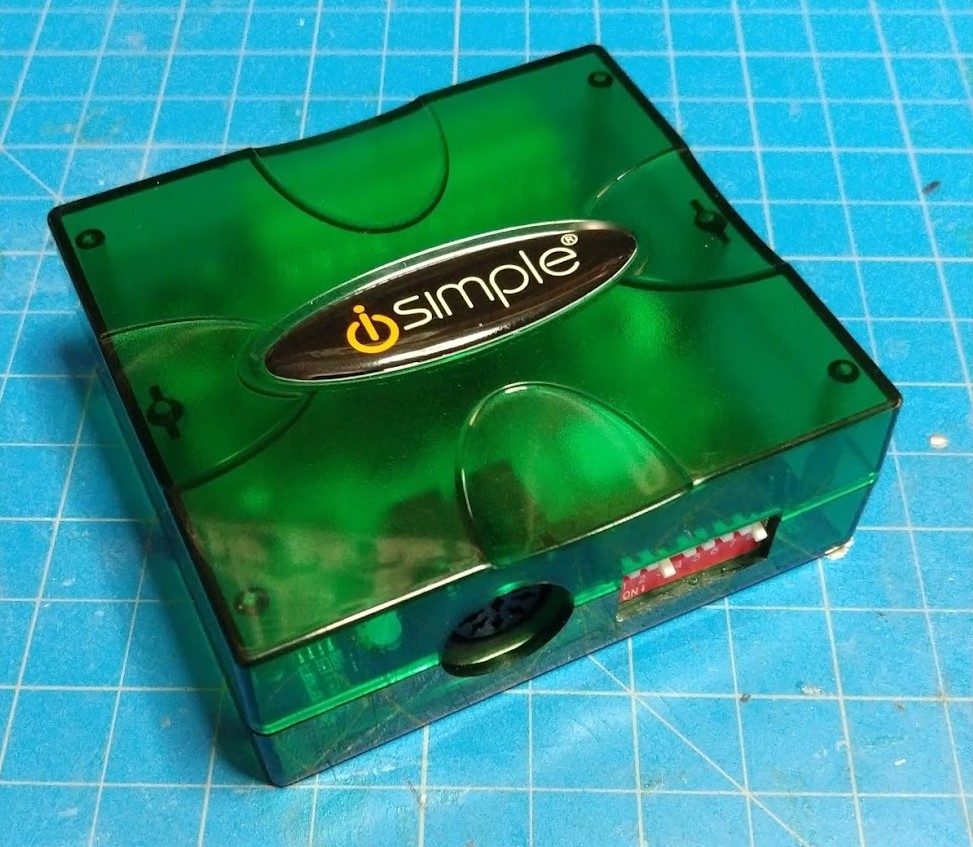
I went with the PXDX aux2car thing. The “MSRP” is $111.95, but actual selling price is all over the road. I picked it up on amazon for $55 and the adapter was an additional $10. The model I got was version 1.5.1, and I will include some detailed photos below. I wasn’t very confident that it would even work because of this note from the manual:
“Not compatible with any factory external audio source such as: XM tuner, CD changer, or Casette player. These devices must be disconnected during installation and will no longer function. GM vehicles 1998 – 2004 not equipped with a factory slave may not be able to support an external device. Therefore the PXDX may not be compatible. If you are an experienced installer, you can retain XM. Please visit www.pac-audio.com for details. 1995-1999 Radios with built-in CD player (Except Corvette) are NOT compatible because they do not have CD changer control functions.”
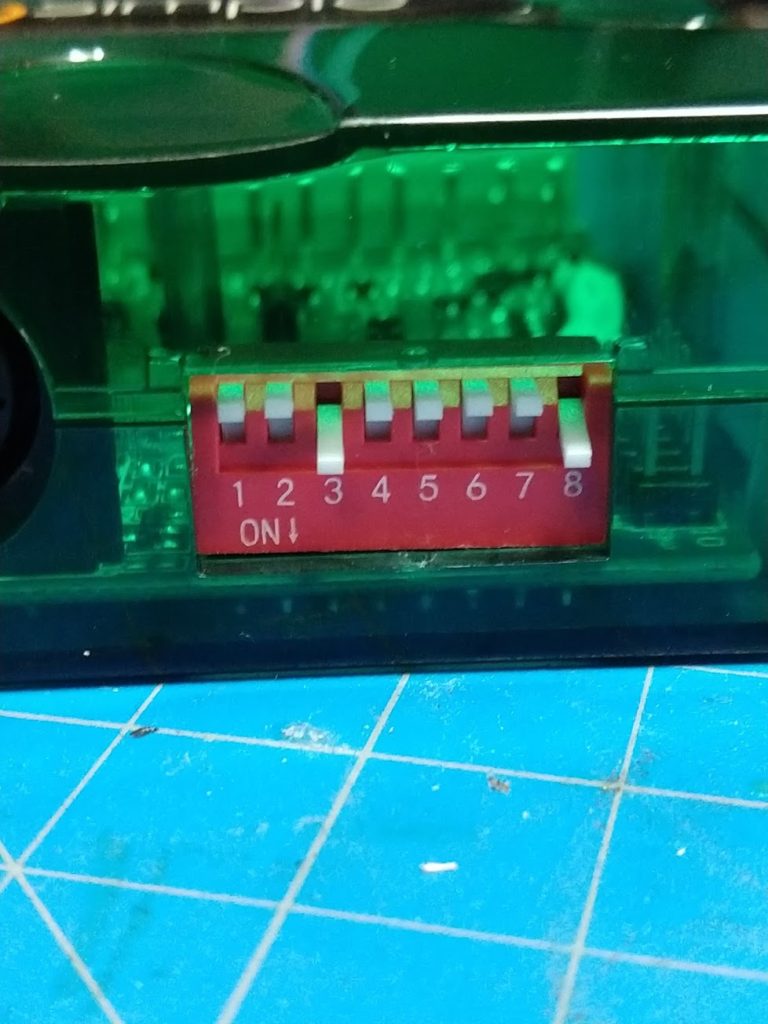
Installation is easy, just plug it in and jam the box somewhere. Before you do that, set switch 3 and 8 to the on position. Would be nicer if it was smaller.
It works perfectly. I haven’t tried listening to a real CD so I can’t say if that still works… and probably never will bother.
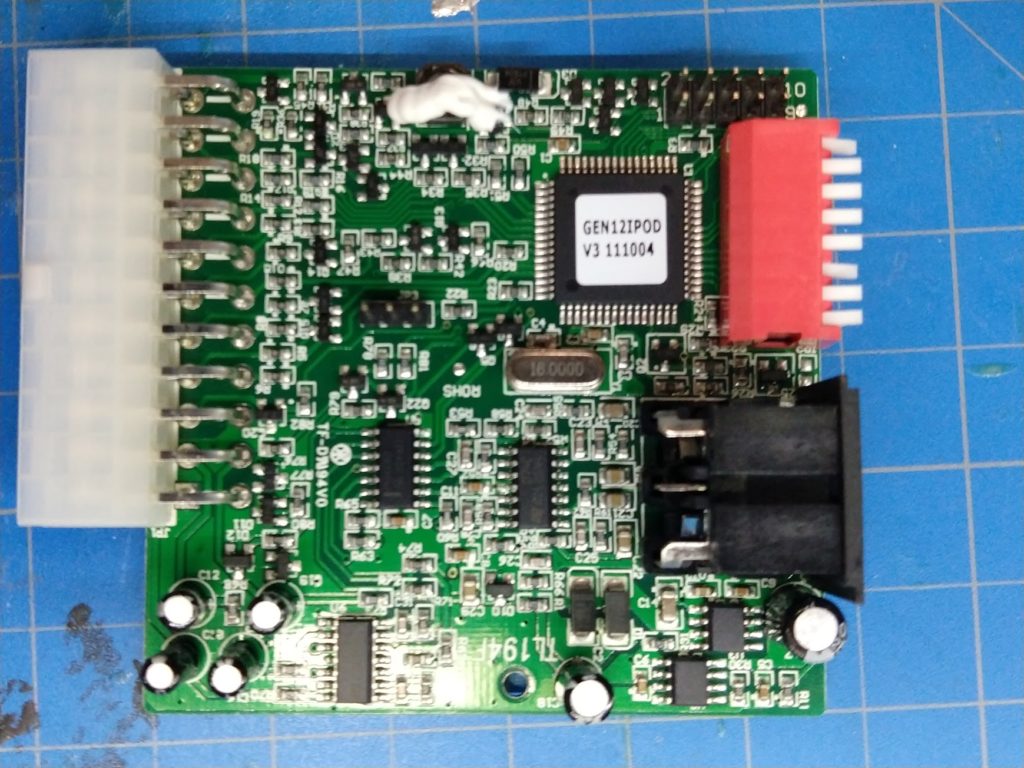
Here are some detailed photos: