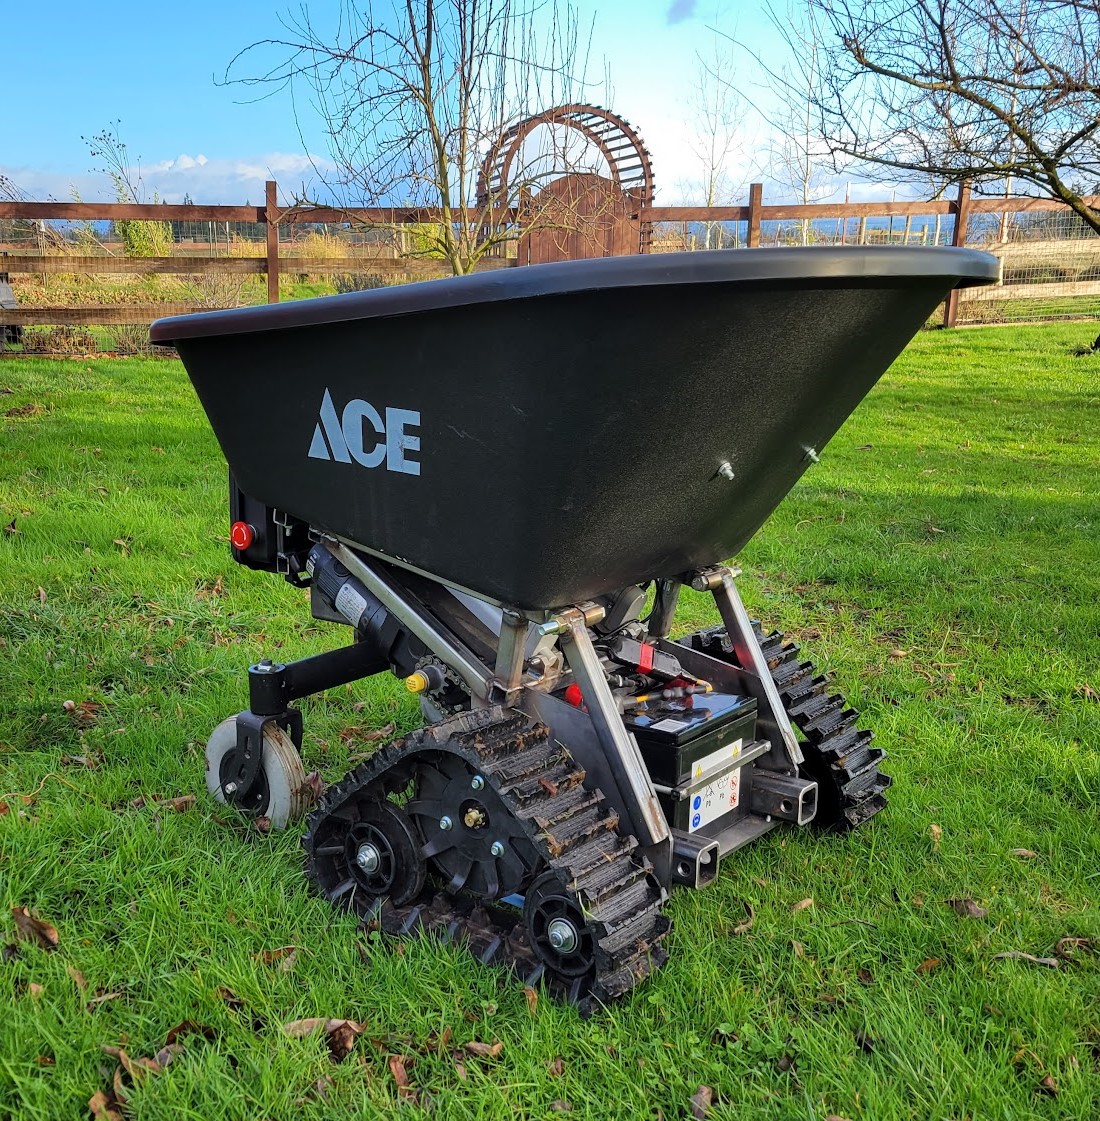
Here’s a new project I’m working on – a RC wheelbarrow on tracks. It’s exactly what you would expect.
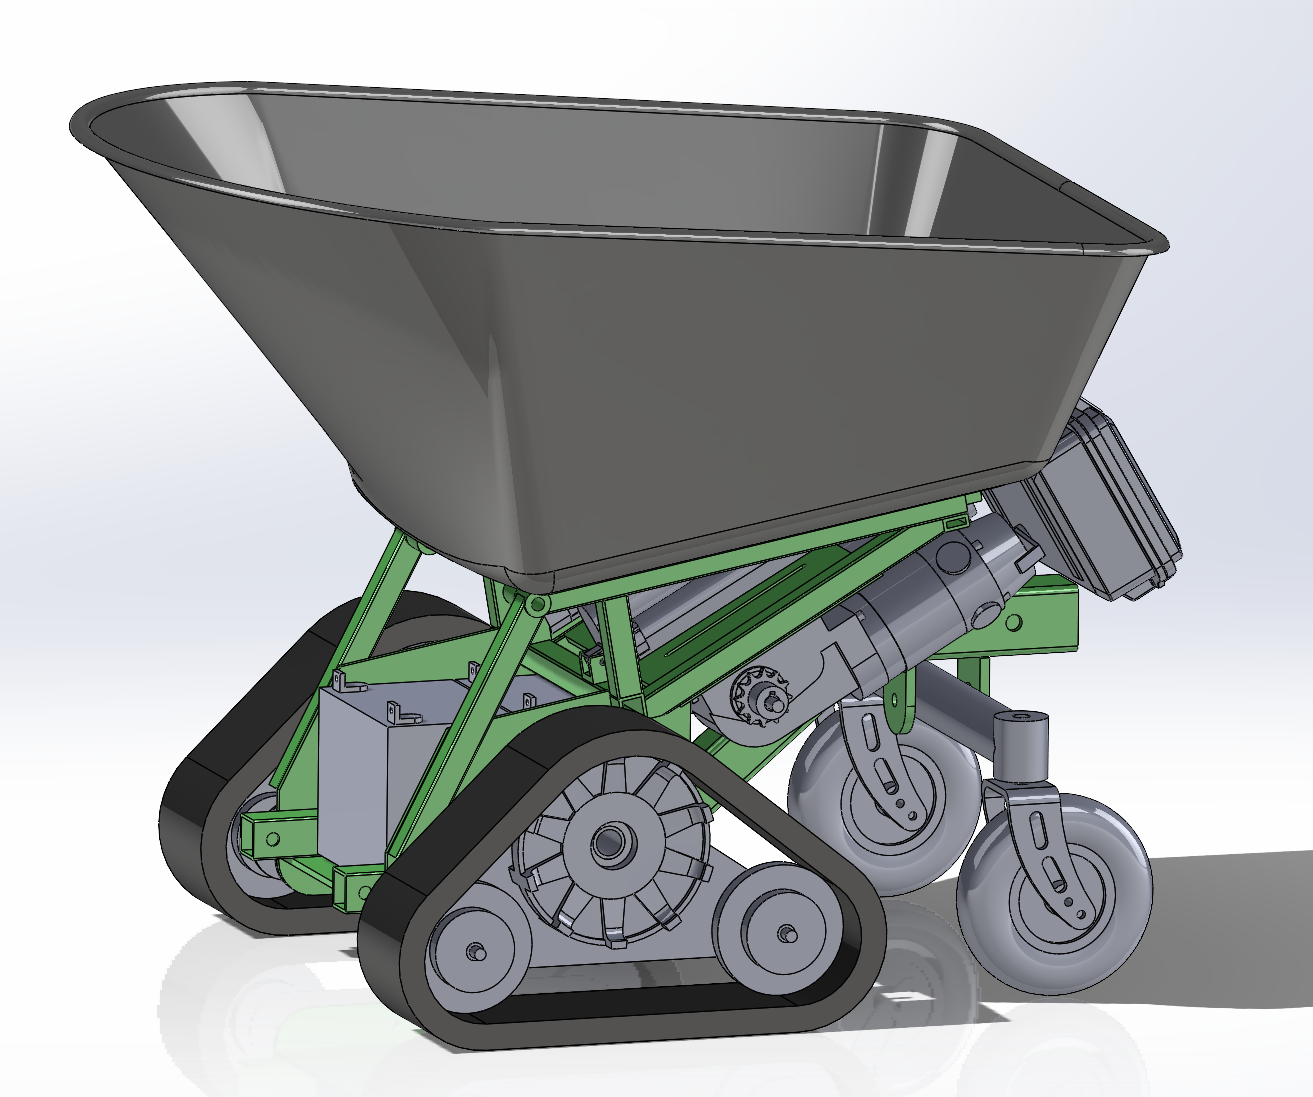
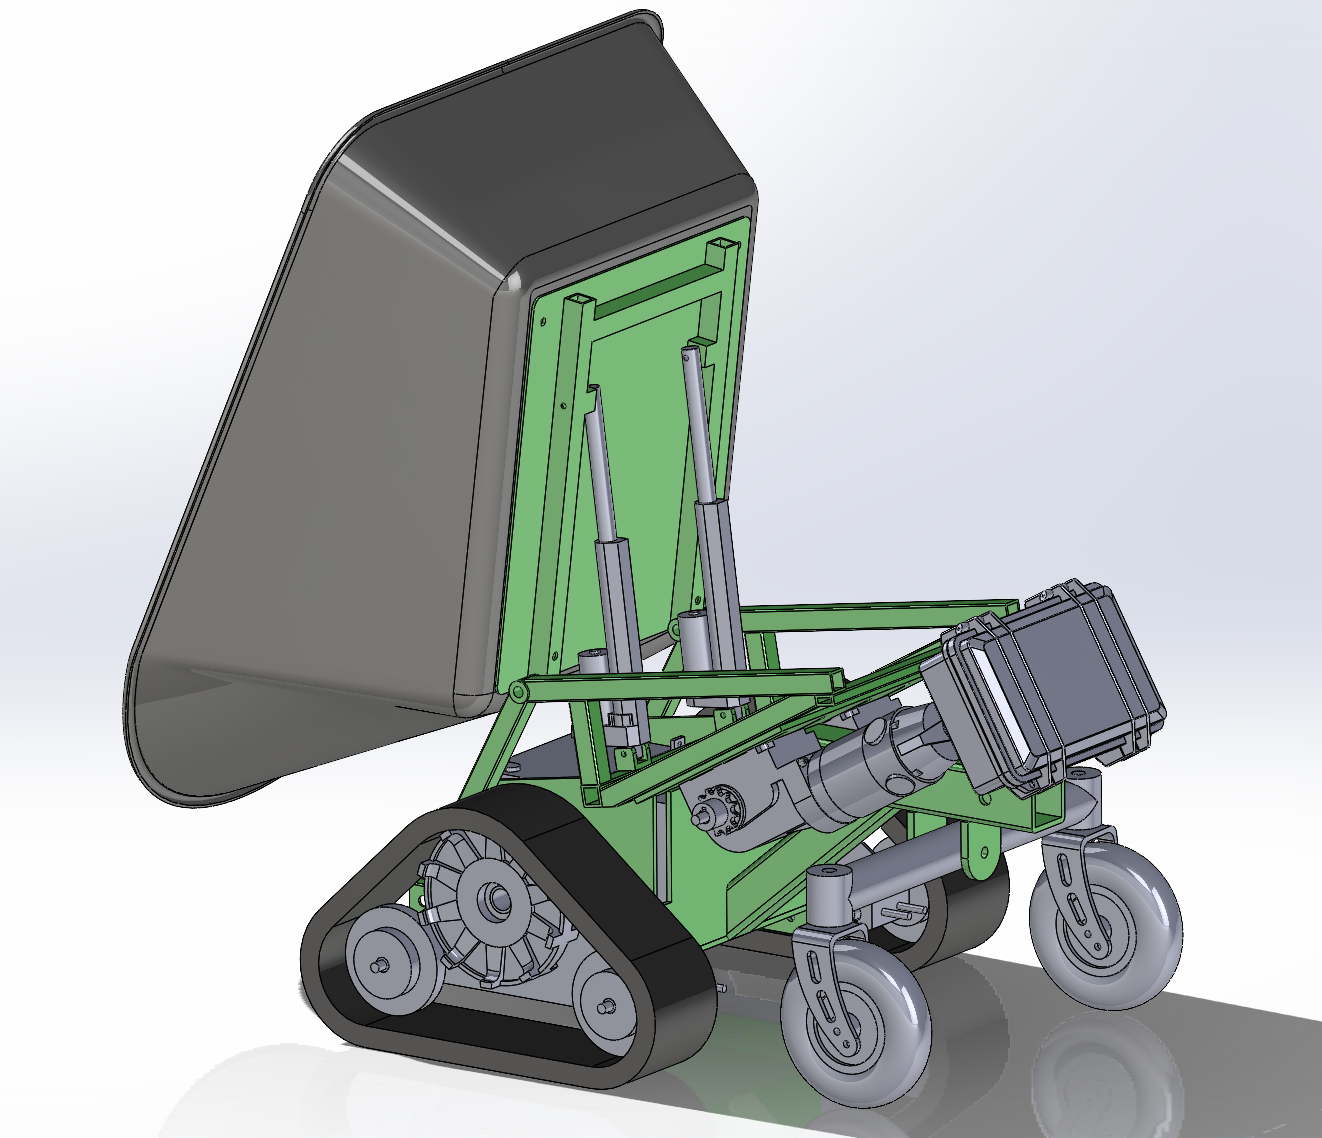
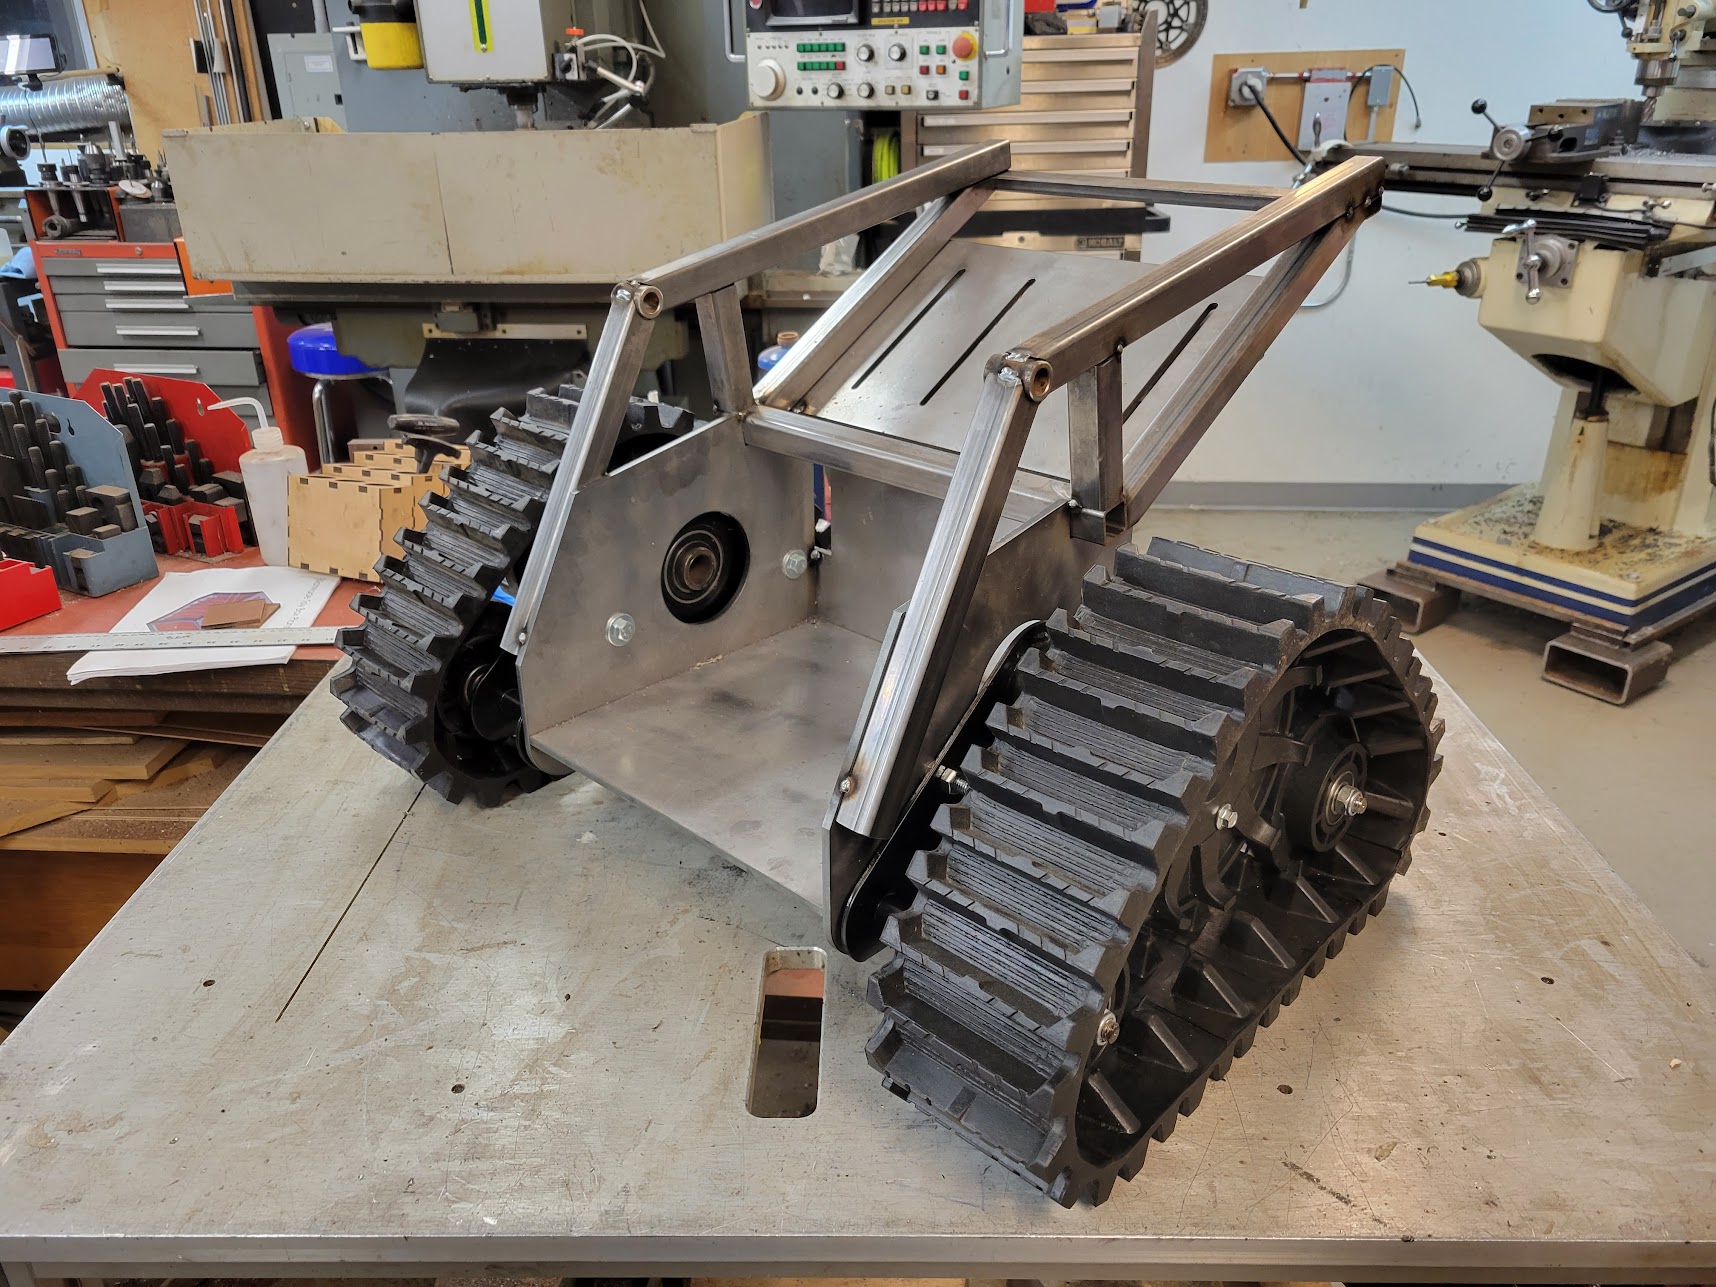
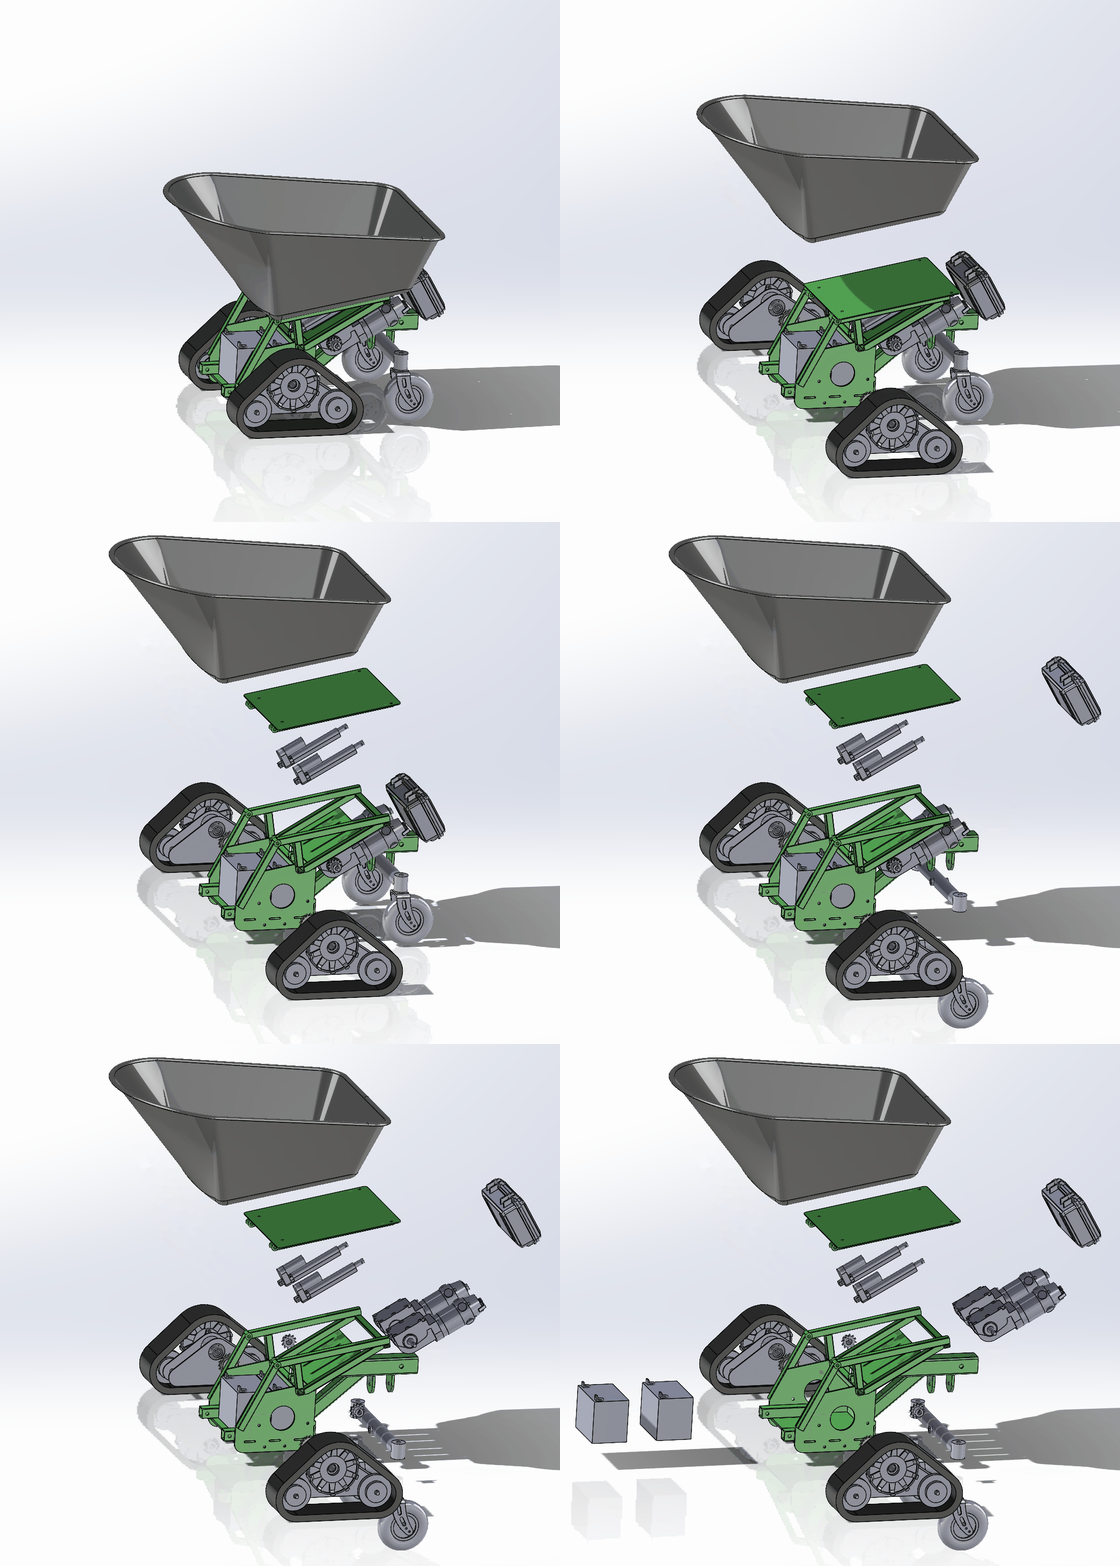
I took some time to model all of the different parts in Solidworks – the motors, tracks, casters, wheelbarrow, actuators, etc. – then I arranged them in an assembly and designed the chassis that I would need to fabricate afterwards. In the image above the gray stuff was all existing parts I sourced and the green was what I would need to fabricate. This was time consuming, but it did make the build a lot more straightforward. I had the flat parts laser cut locally from 1/4″ steel plate and used tabs/slots for alignment, this worked out great and was not that much more expensive that the raw material in the first place.
The tracks
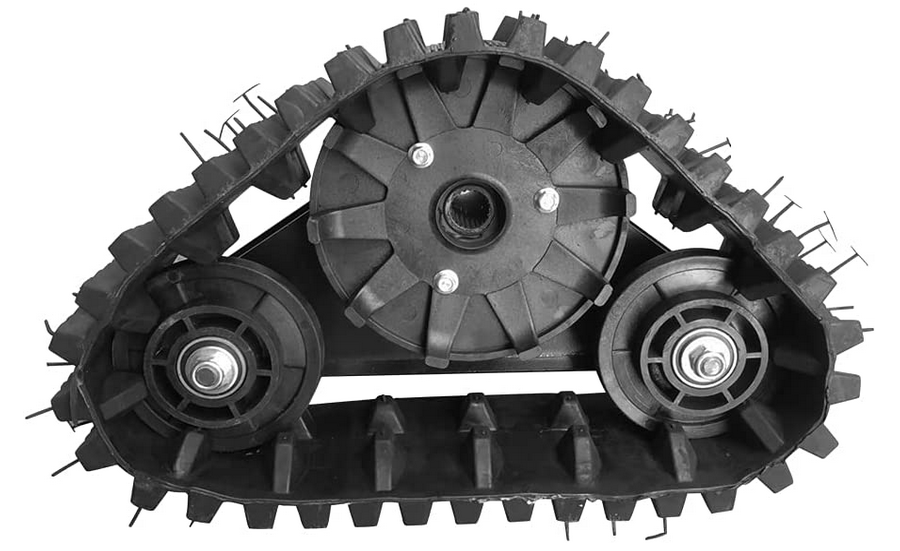
The basis for this are these rubber tracks. I noticed them on ebay/amazon and the usual overseas sites at least a year ago and have had this idea in my head since then. They seem like they’re intended for small ATVs, but the listings are all a bit sketchy – you can buy the tracks alone or with an axle, sprocket, and brake rotor. The drive sprocket uses splines, so I bought the set with the axle for ~300 dollars just so that I didn’t have to try machining my own like these guys did, in fact it was only after I watched that video that I decided to finally order them.
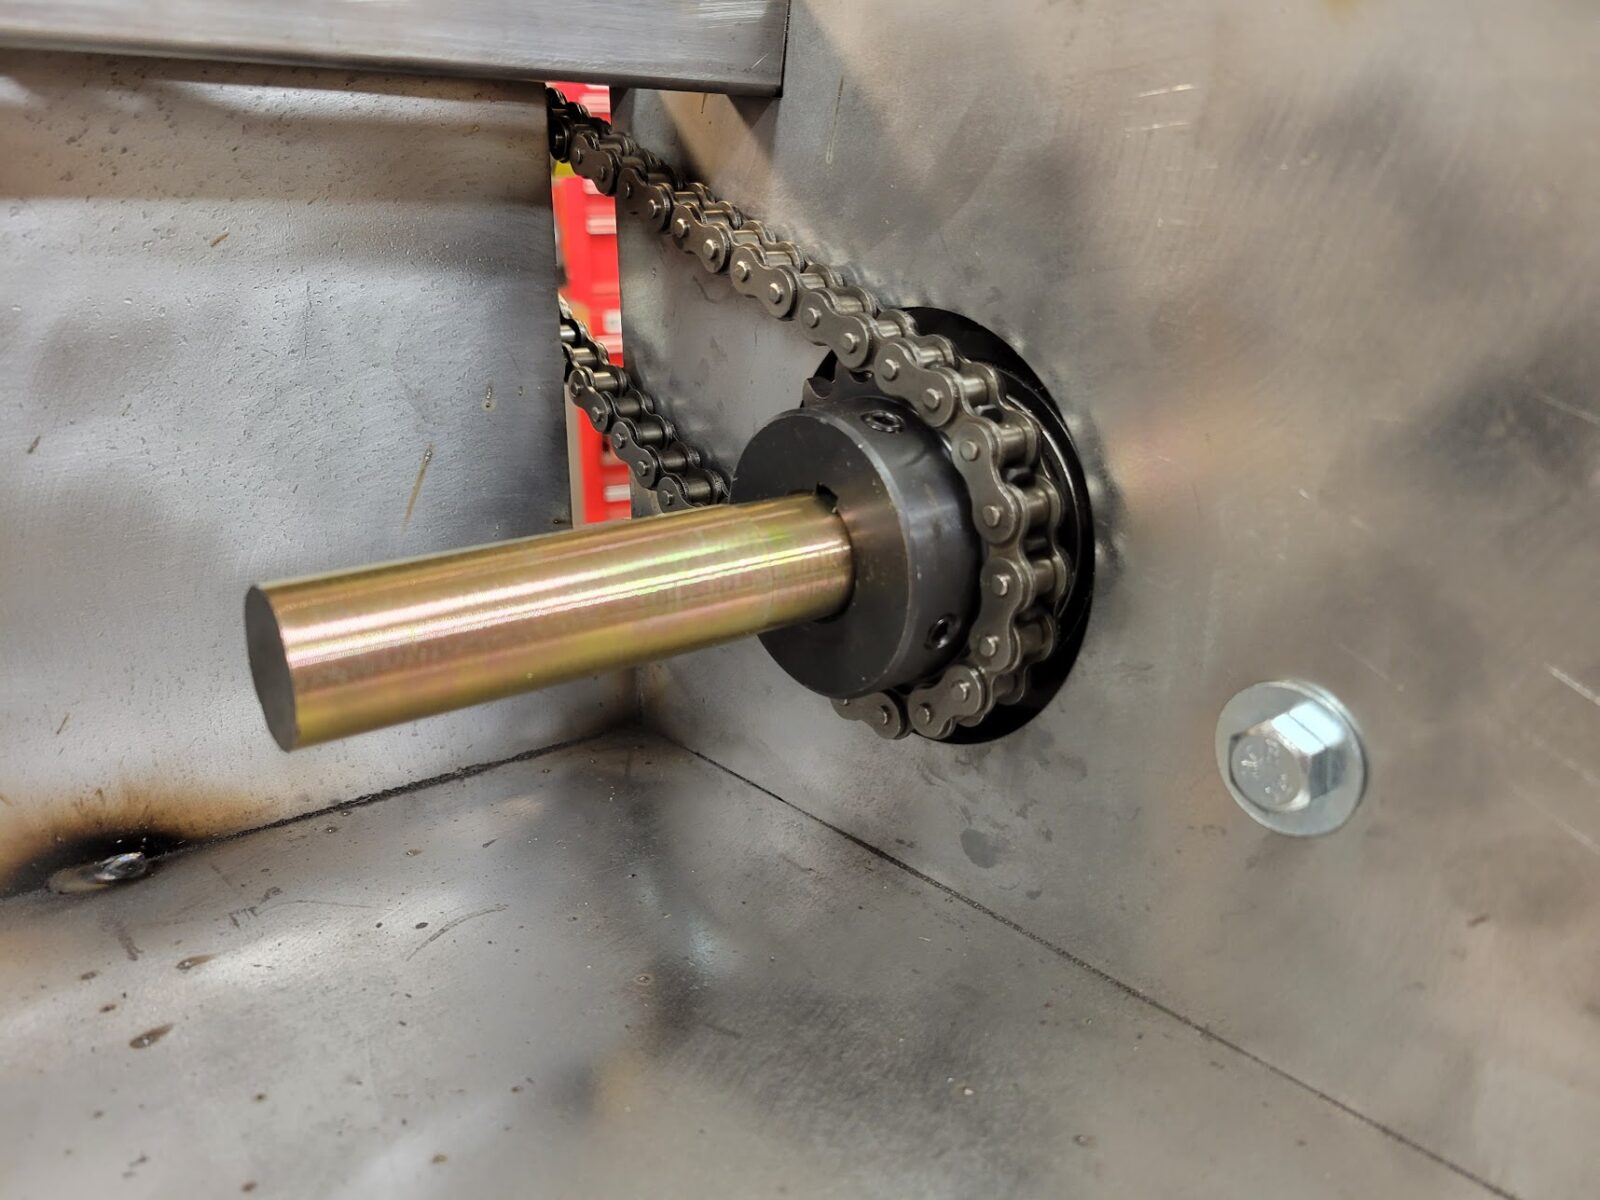
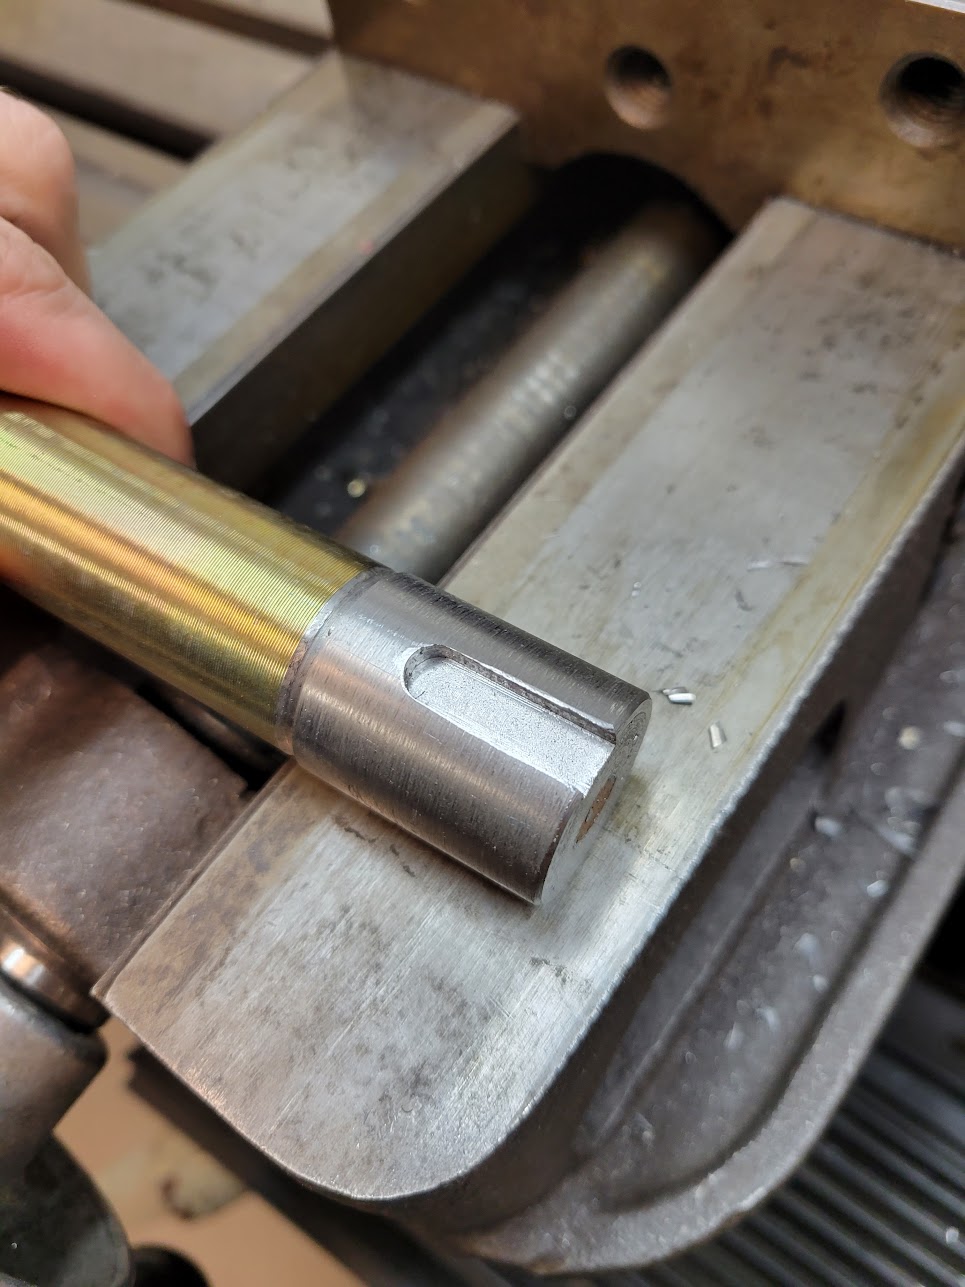
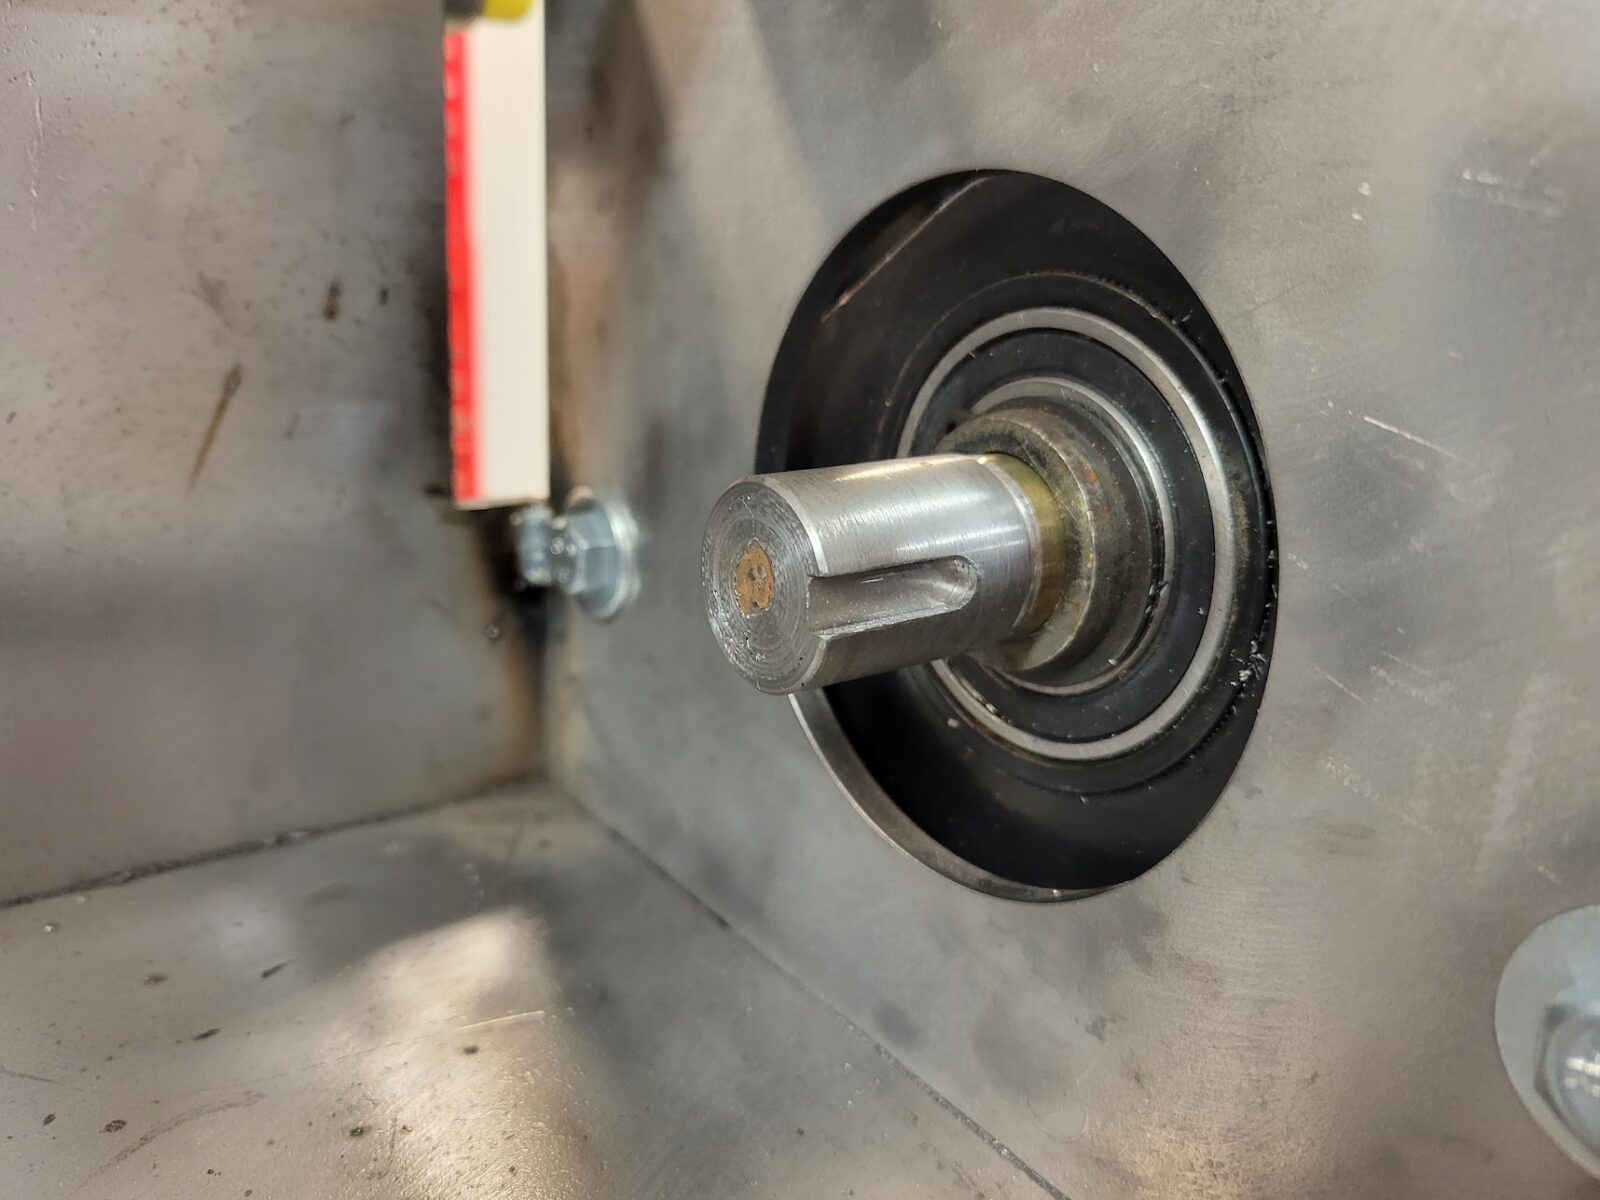
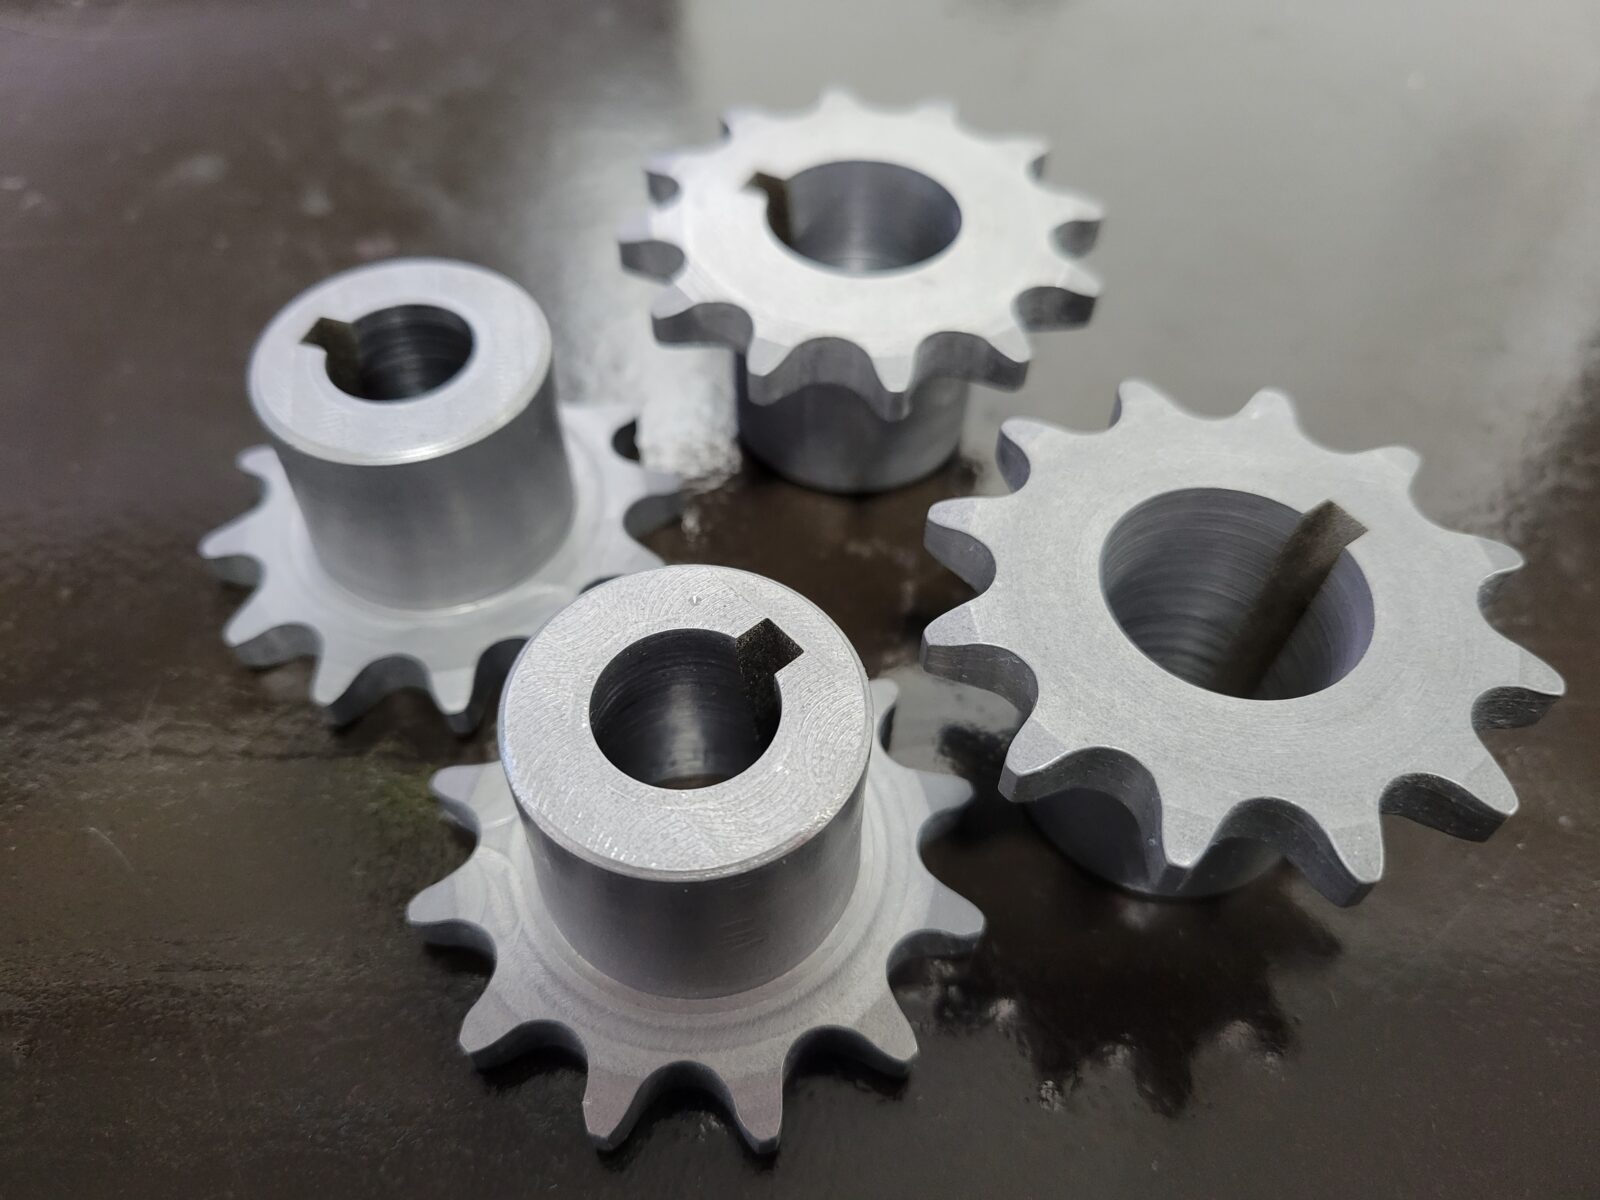
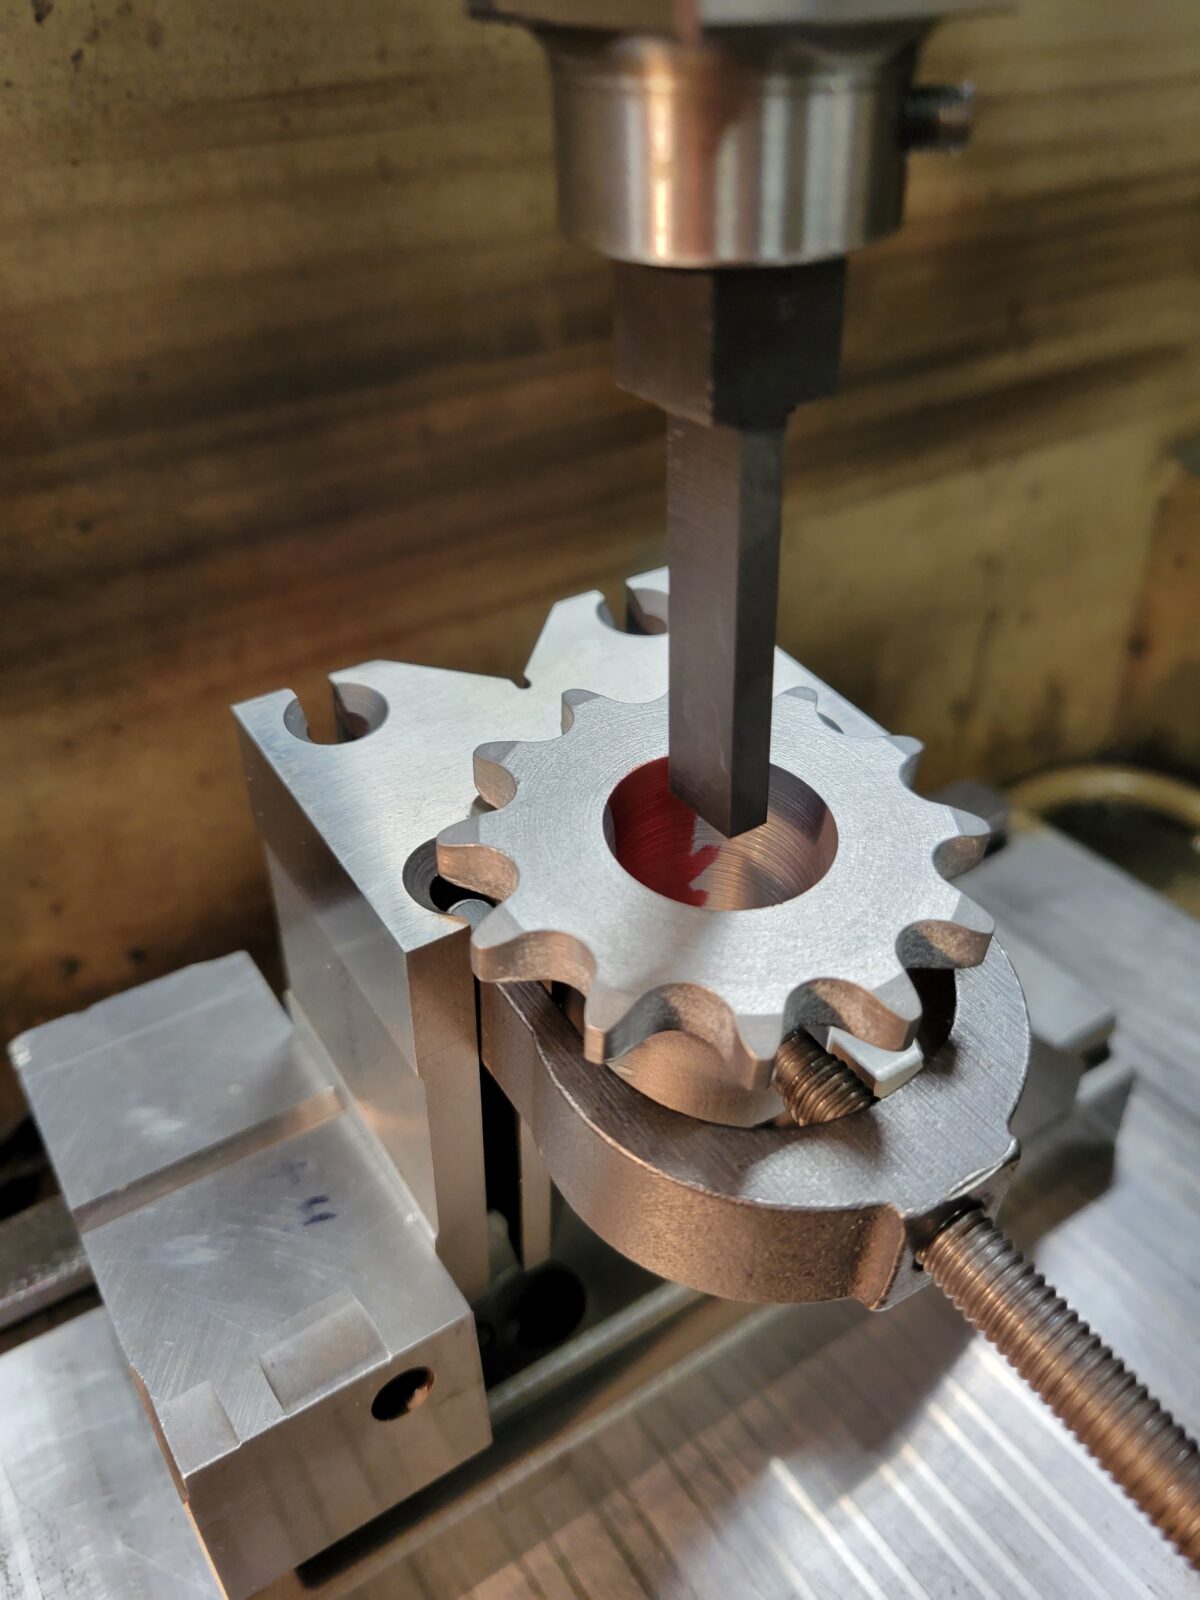
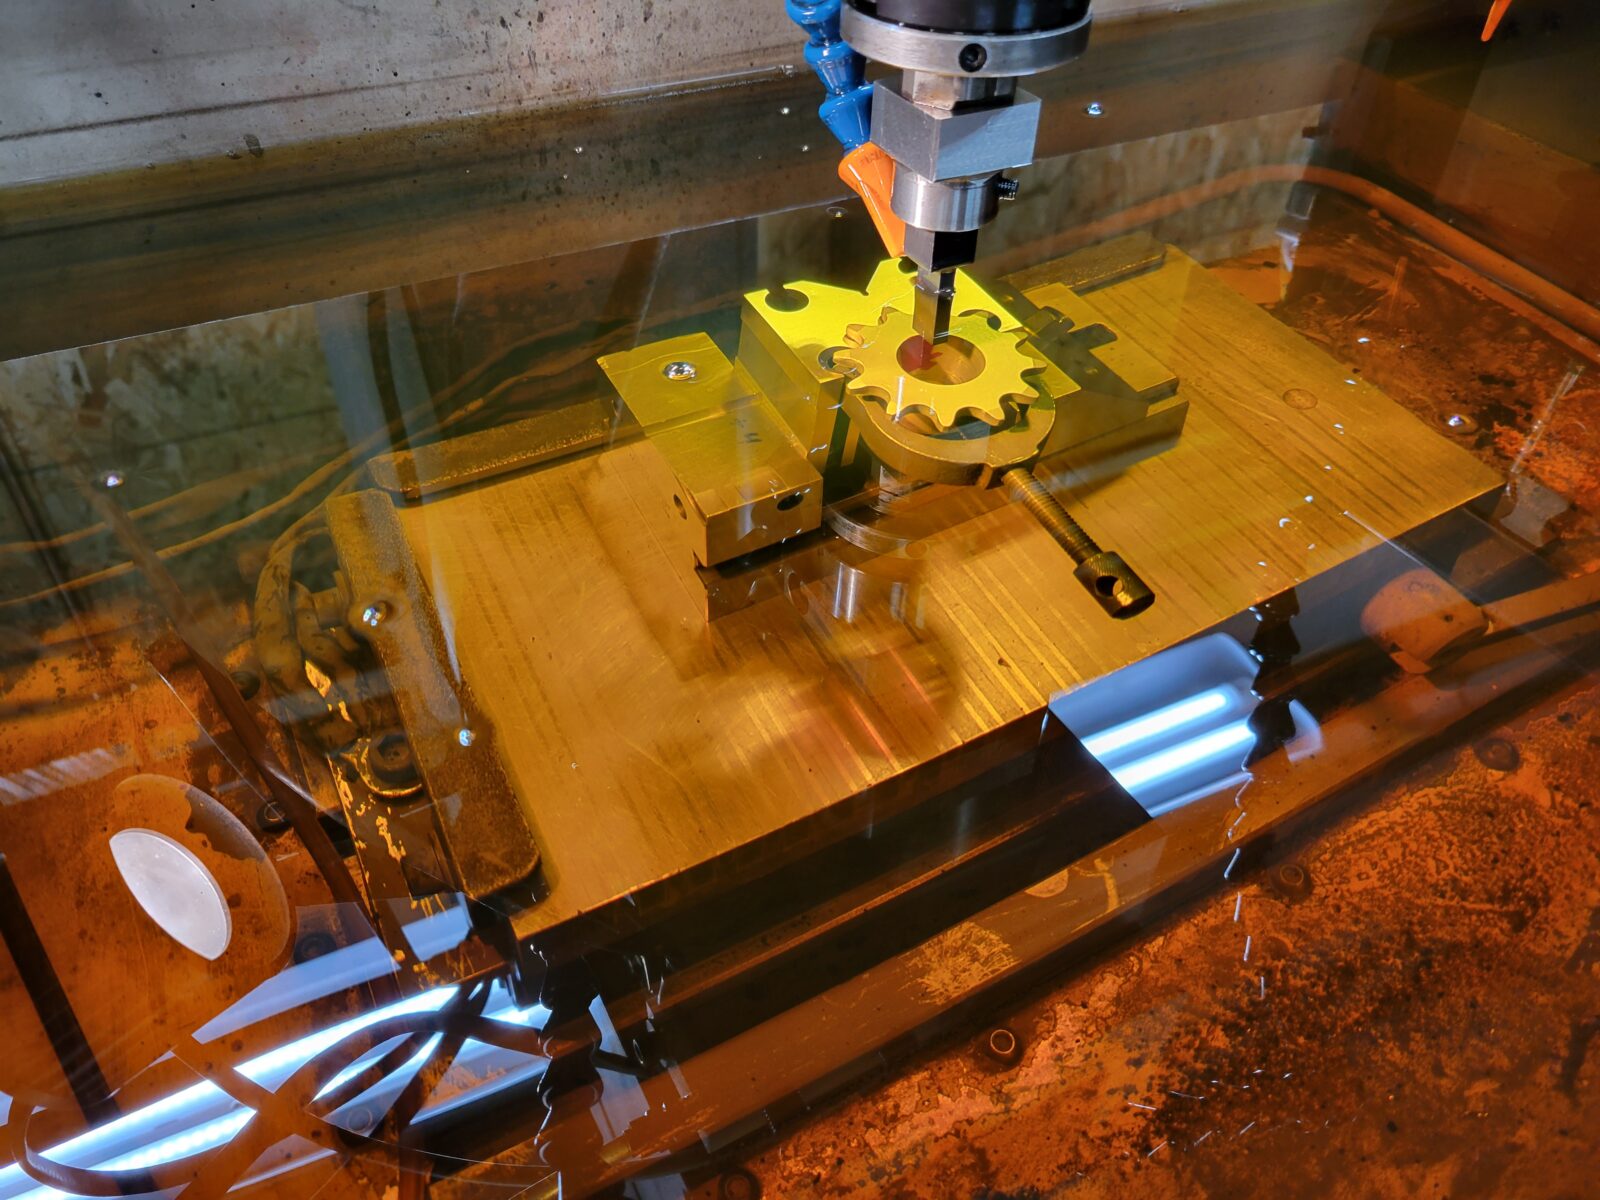
I sliced the axle in half and am driving it using off-the-shelf sprockets with a 1″ bore, but unfortunately the axle is metric and just a bit too small. I welded on a sleeve, turned it to size, and added a keyway. I could have used sprockets with a smaller hole and bored it to size, but cutting a slot on a shaft was easier than broaching one in a bore for me. Driving the chain is a wheelchair motor, the gear ratio is 12:18 which trades some top speed for increased torque. The motors have tapered shafts, there wasn’t an easy sprocket to buy for that end so I made my own (there’s a little more about that here).
Electronics
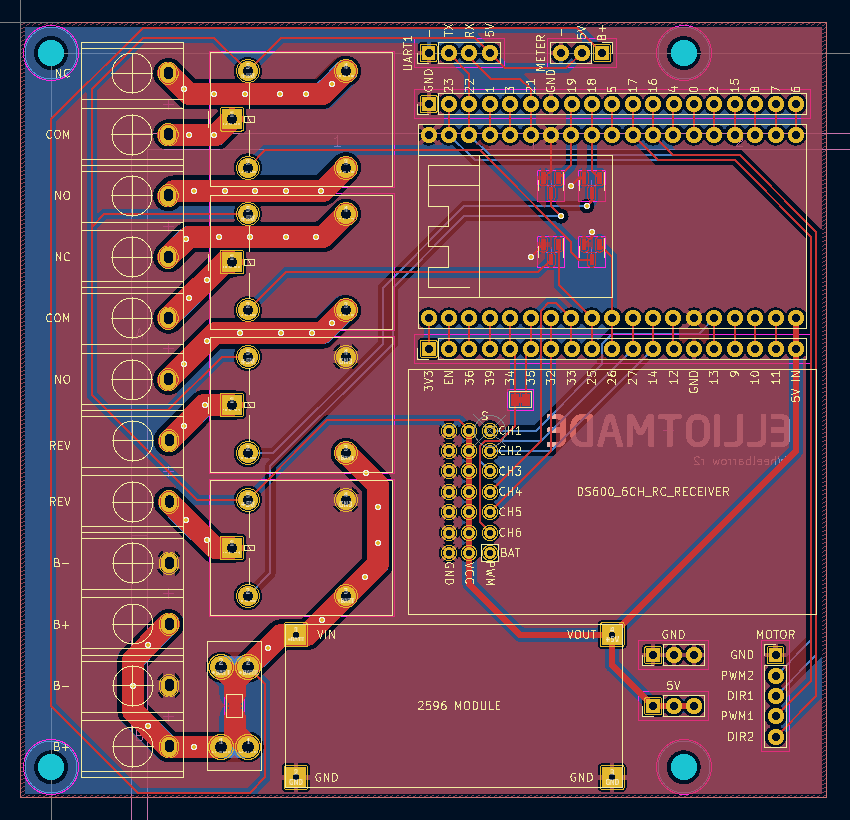
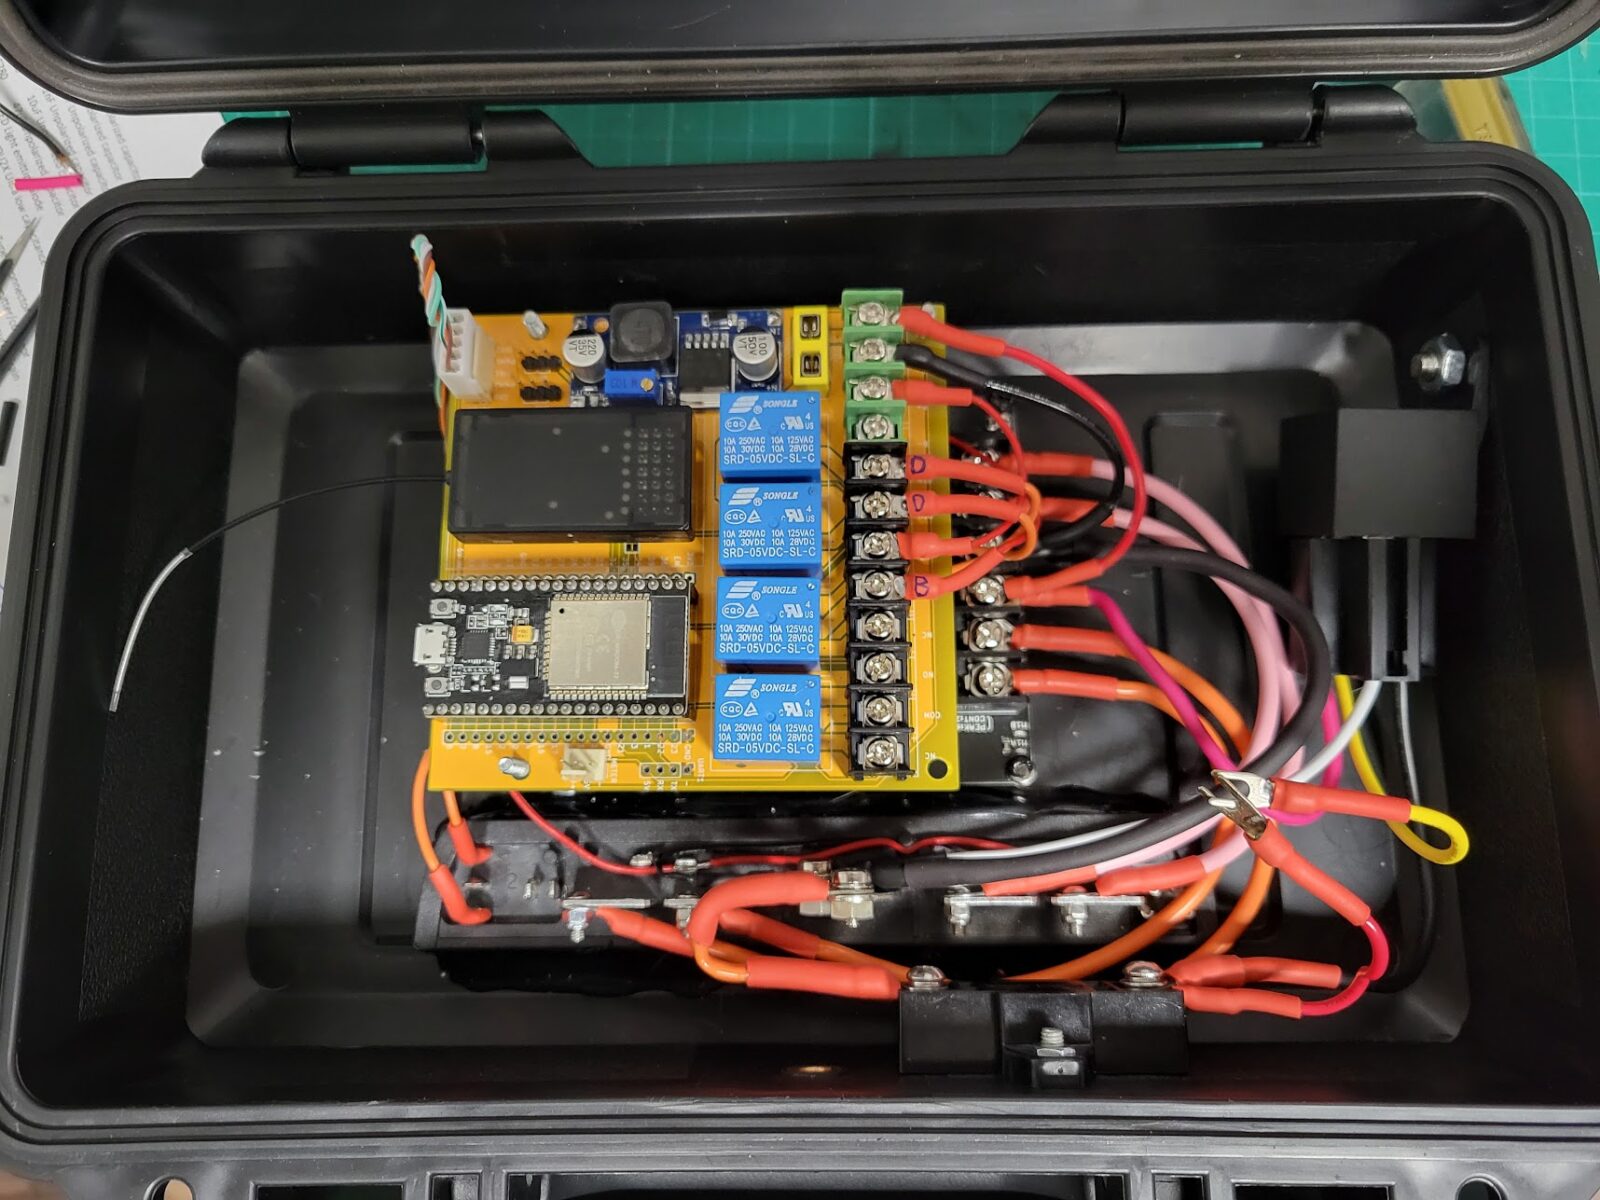
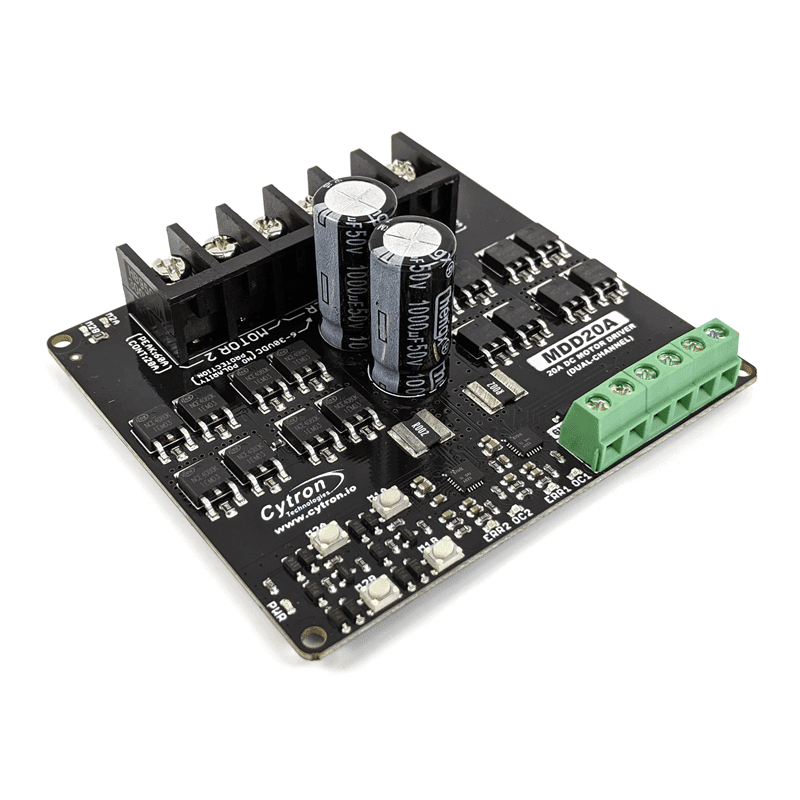
The magic happens inside of this plastic box. The robot uses two 12v lead-acid batteries in series and the motors are driven with the Cytron MDD20A board. I found this to be a decent and cheaper substitute for the Sabertooth 2×32 that I have used previously – it doesn’t have any smarts onboard so it takes a few more pins and a bit more code to interface with, but it seems to handle the job just fine. I use an ESP32 to run the show – it interfaces with the motor controller and the RC receiver and makes everything work together. The circuit board (yellow) above is of my own design, it has a 5v power supply and a set of relays for switching the various functions – like the brakes and dump actuators.
Remote control
The remote is a critical part of making this practical. It’s meant to be a little buddy that hauls stuff around for you, and for that reason it’s not reasonable to use a traditional RC transmitter – the kind with a big antenna, two joysticks, and lots of switches. My main requirement was to have something that fit in my pocket and that really limited the options. Initially I planned to hack a Wii nunchuck controller, but then I found the DS-600. It’s made for boats (I think?) and has some weird quirks and limitations, but crucially it has the form factor I needed.
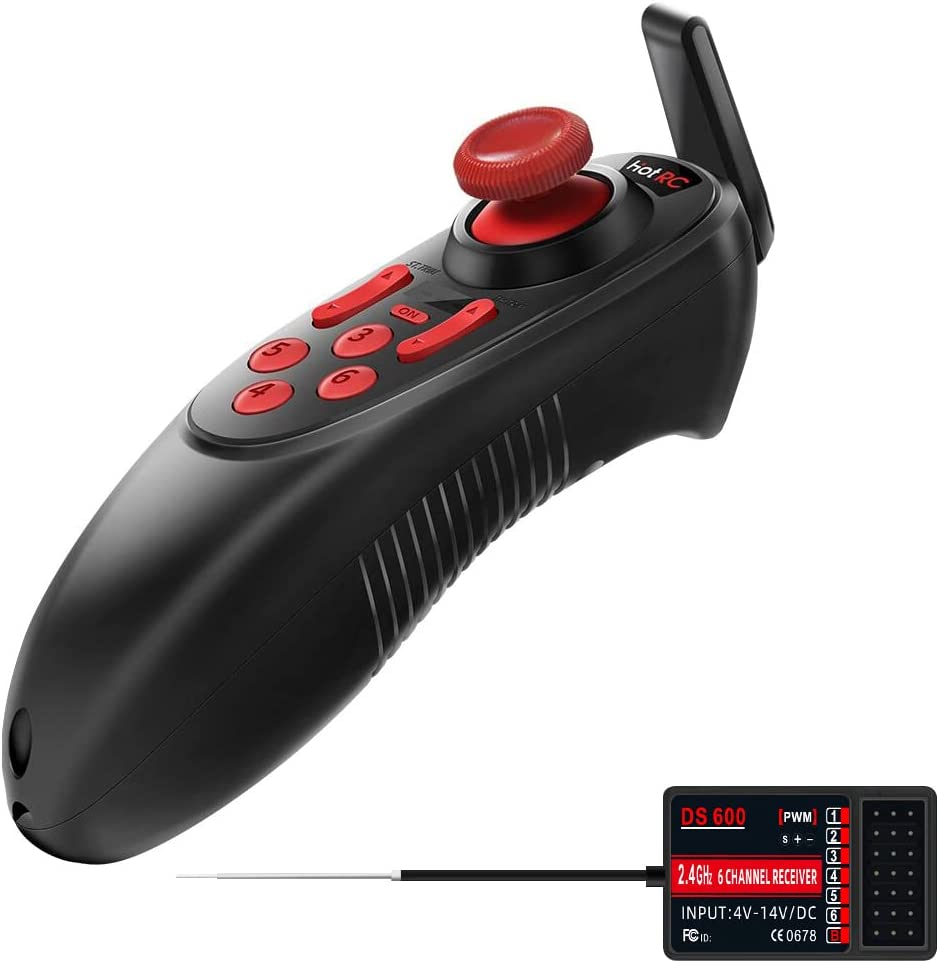
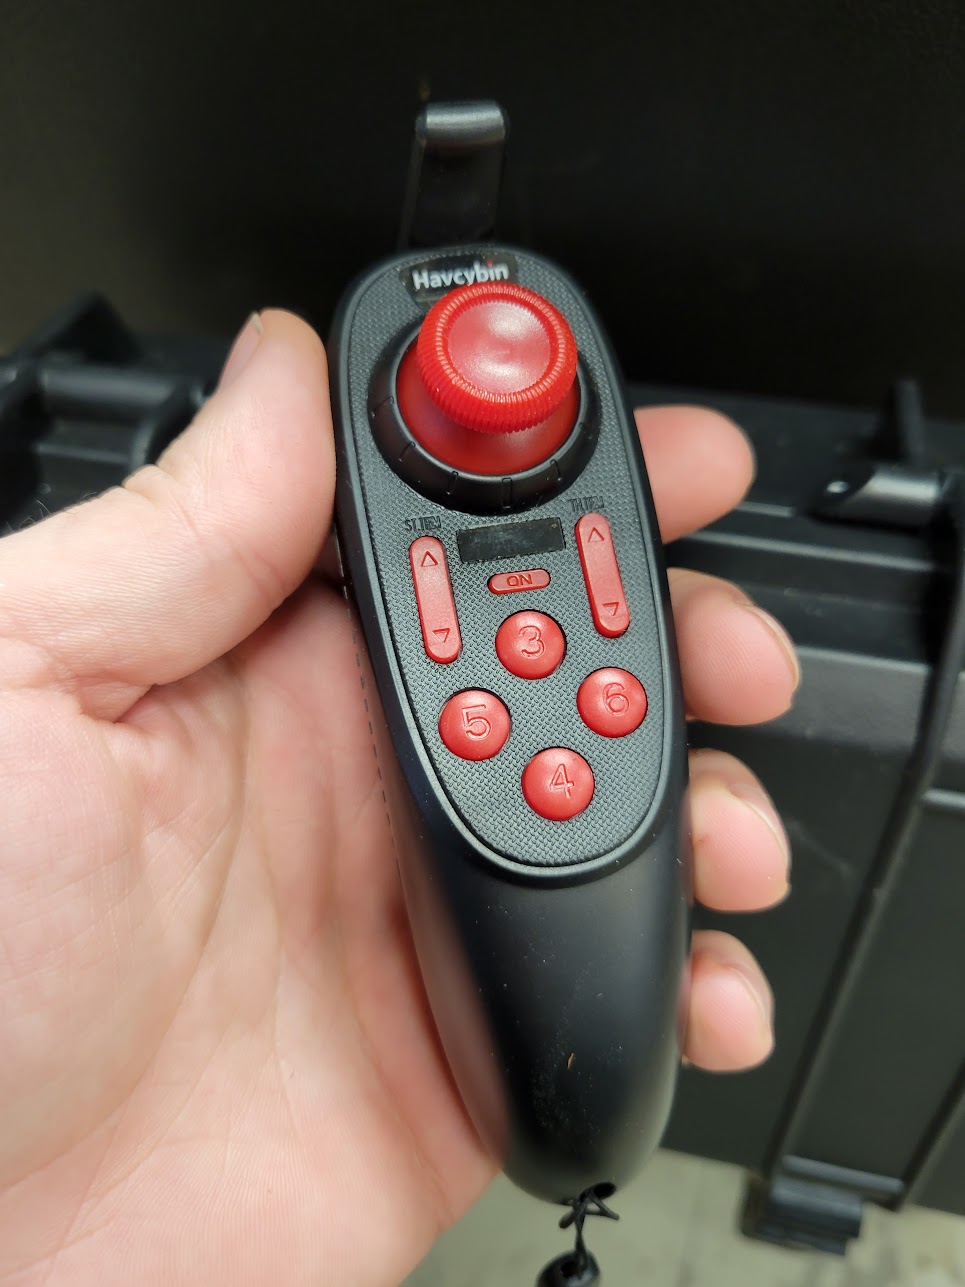
If you want to use this… be warned that it is pretty funky. It does have the ability to trim each axis on the joystick, but you can’t adjust dead zones, maximums, etc. Very bare bones. I did all of this in code on the ESP32. Three of the face buttons are latching (toggle) and one is momentary, this is actually pretty limiting. For example, I want to use the joystick for driving the tracks, and separately I want to control the dump function: up and down. If there were two momentary buttons I could easily make one go up and the other go down, no problemo. Since there is only one, I used one of the latching buttons to change a “mode” in the ESP32, then I can remap a joystick channel to the dumper. This solves the problem but also means I can’t drive and move the dumper at the same time. I used the same approach for an even more important function: disabling the joystick entirely. The ESP has a mode that disables all movement of the machine unless one of the latching channels is “on” – enabling this lets you operate the machine, and disabling it makes it safe to put the controller in your pocket without sending bogus commands if you bump the joystick; without this the whole thing would be too inconvenient or dangerous to be practical.

