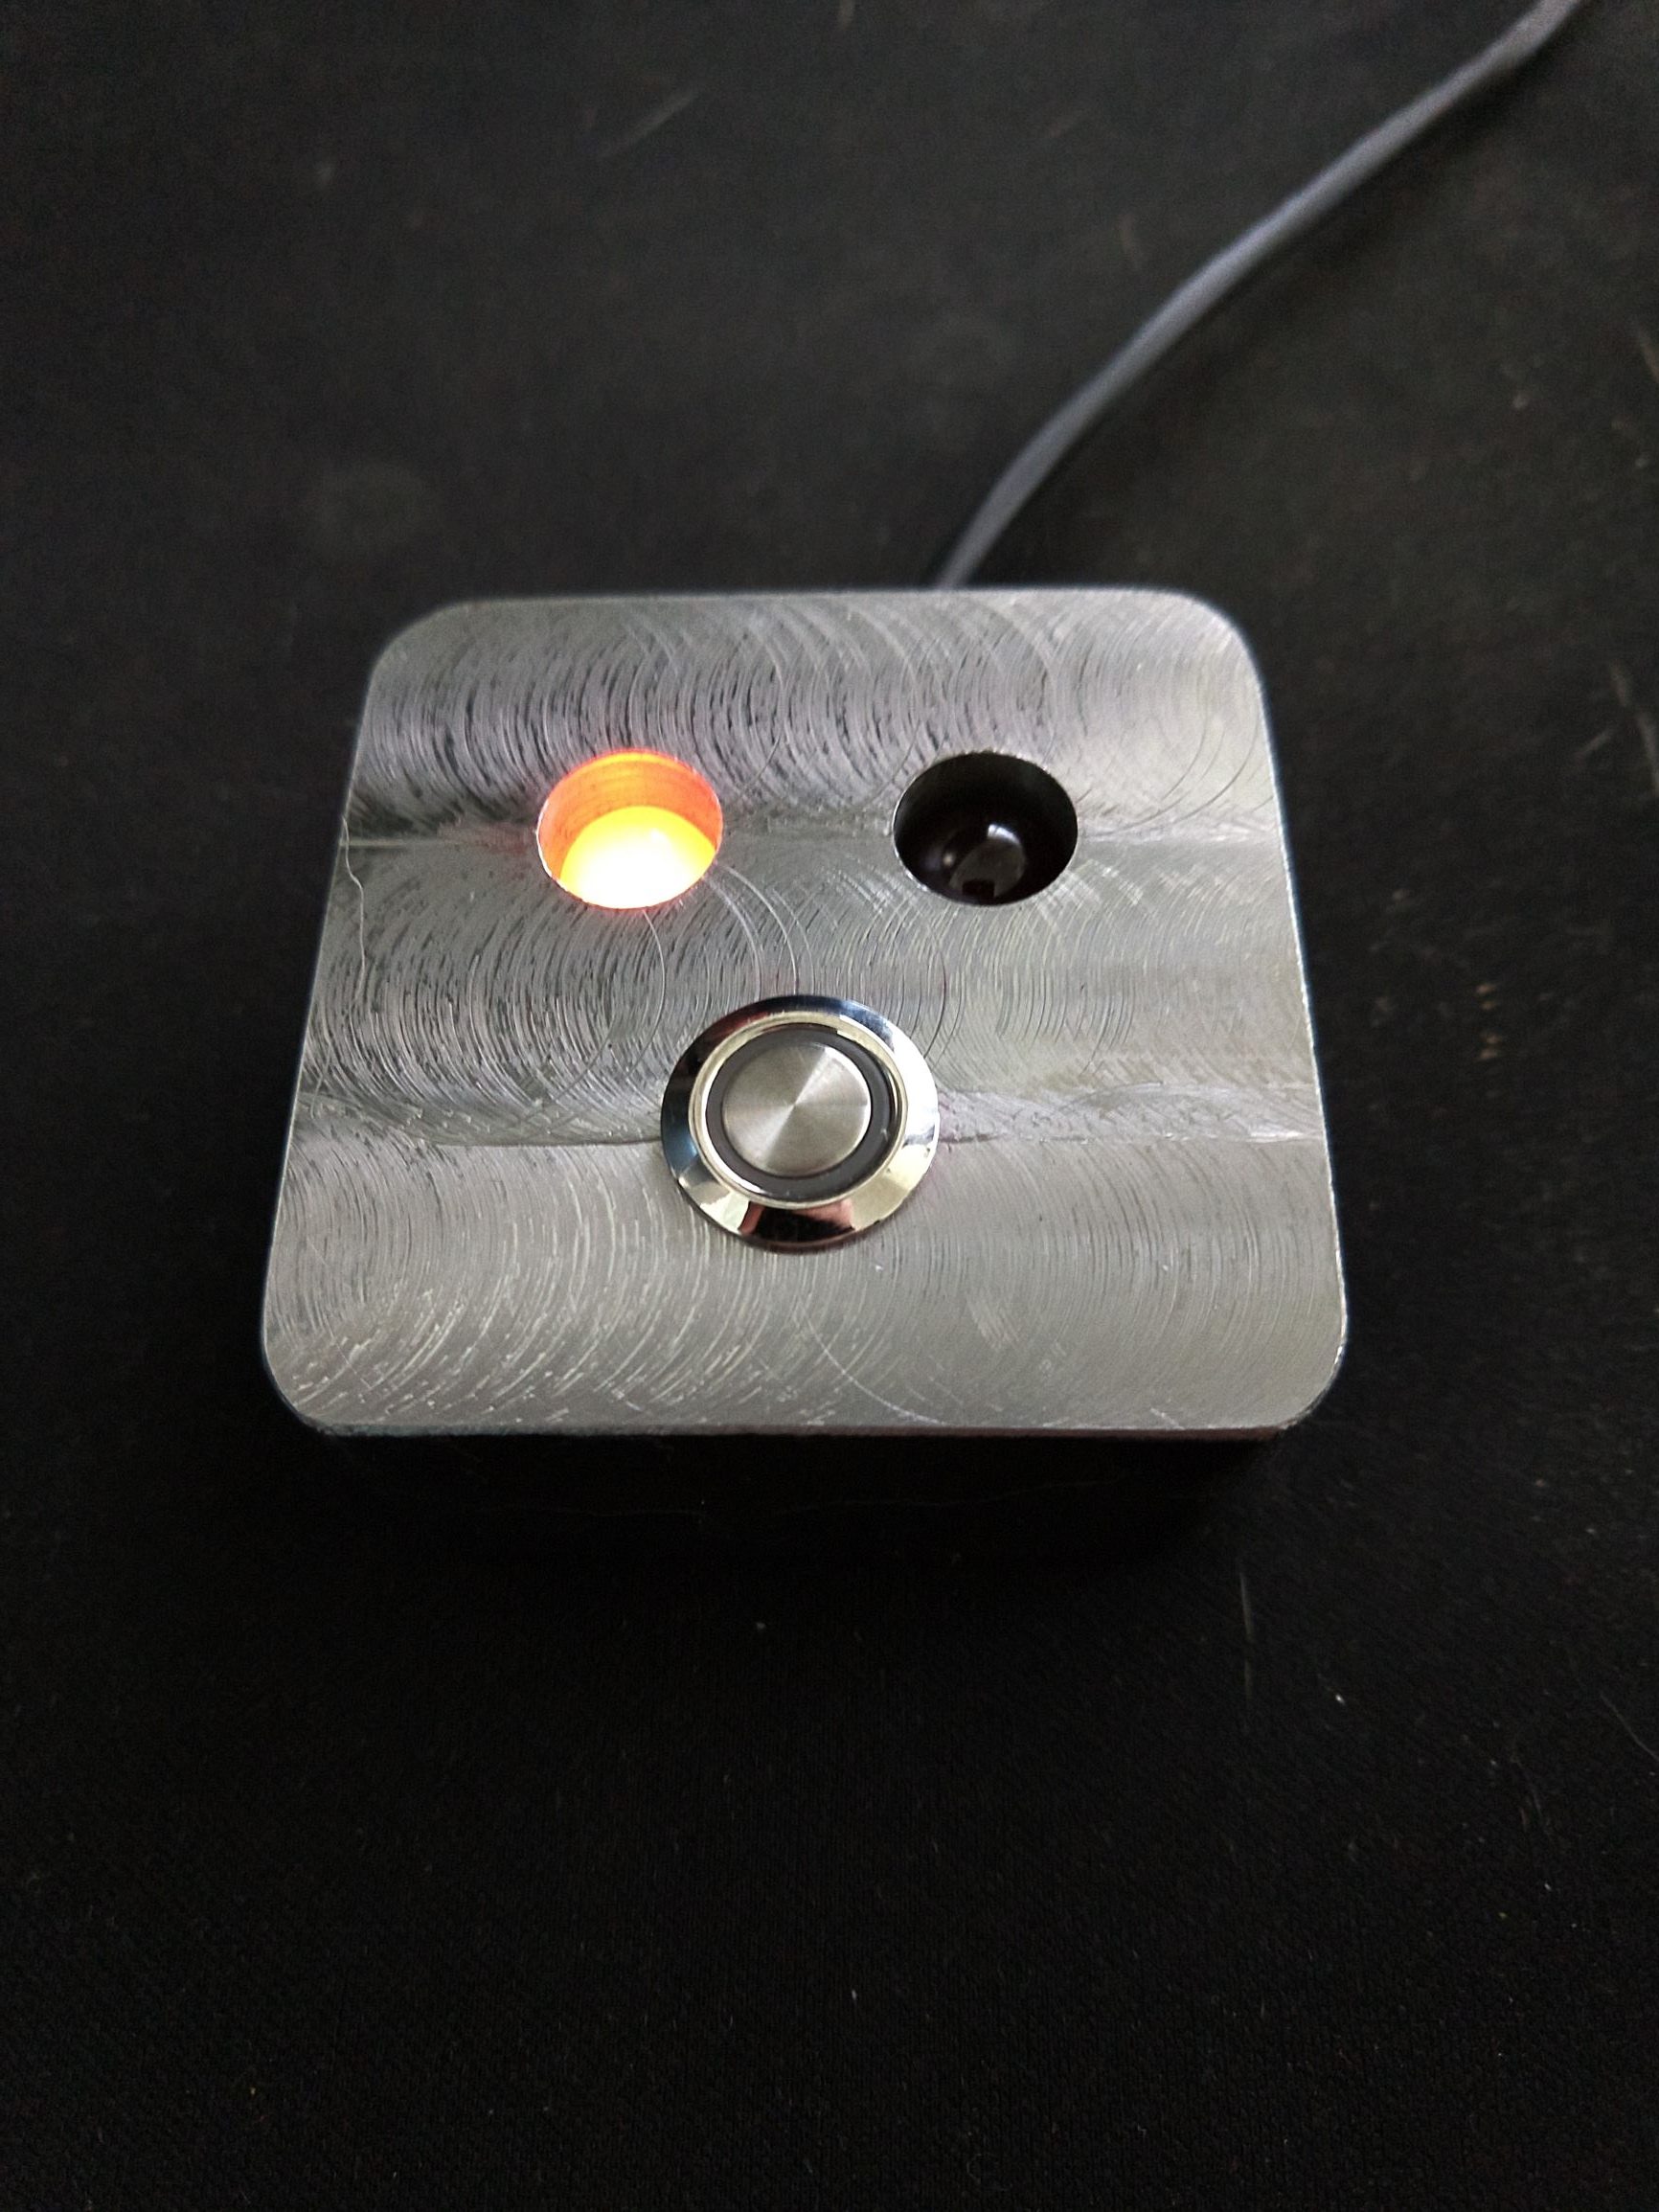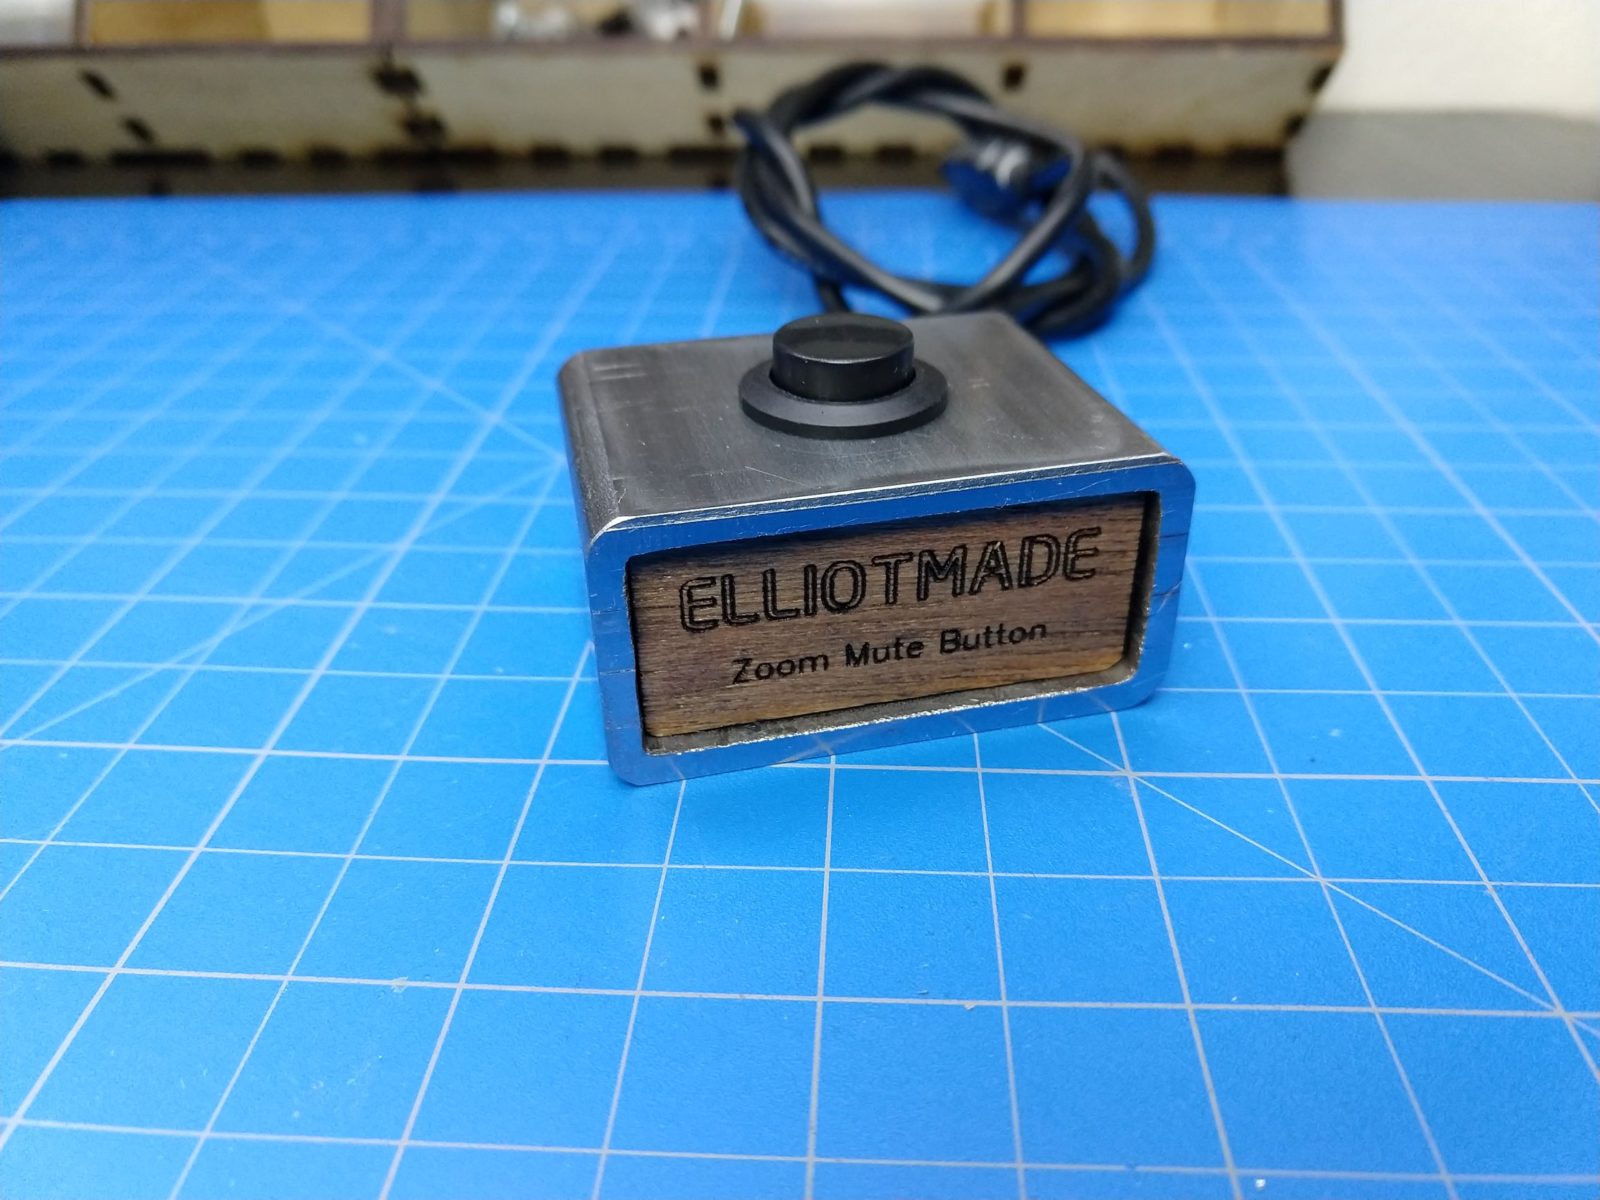
This is a big physical button you can put on your desk that will toggle your mute in zoom meetings, and if you hold the button down it leaves the meeting or ends it if you are the host.
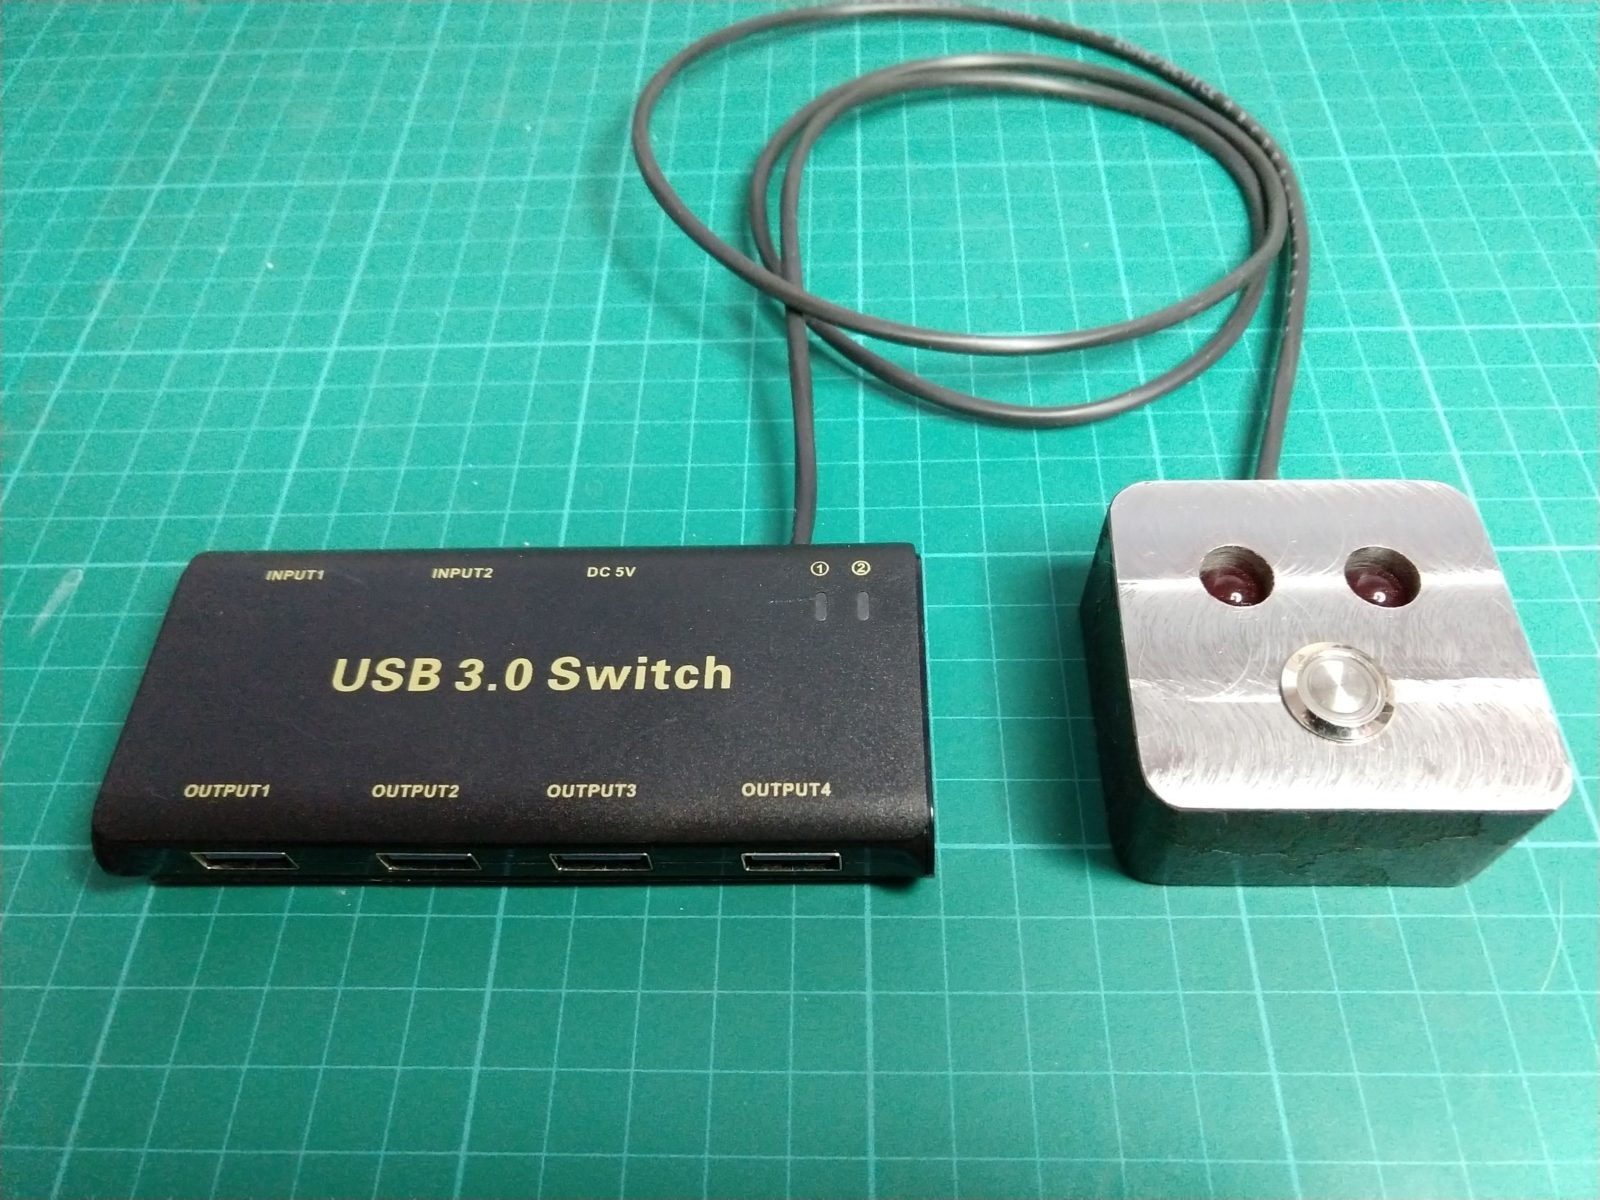
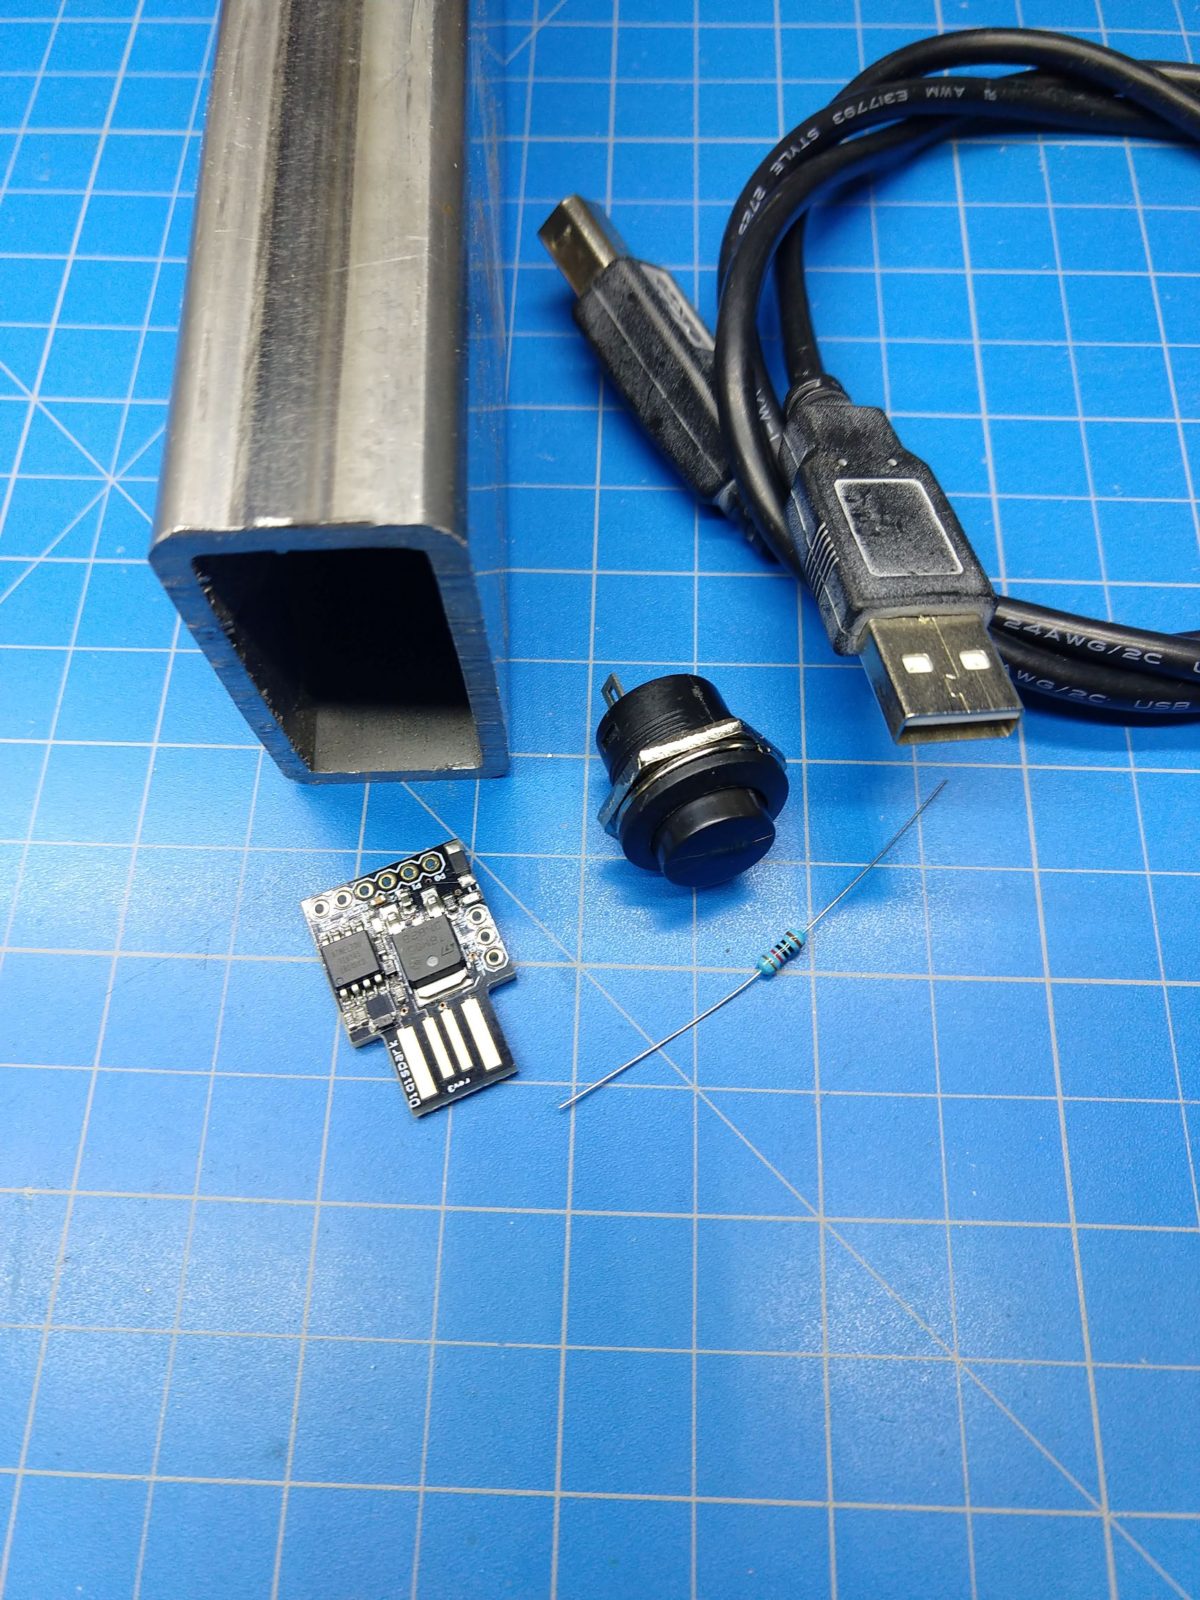
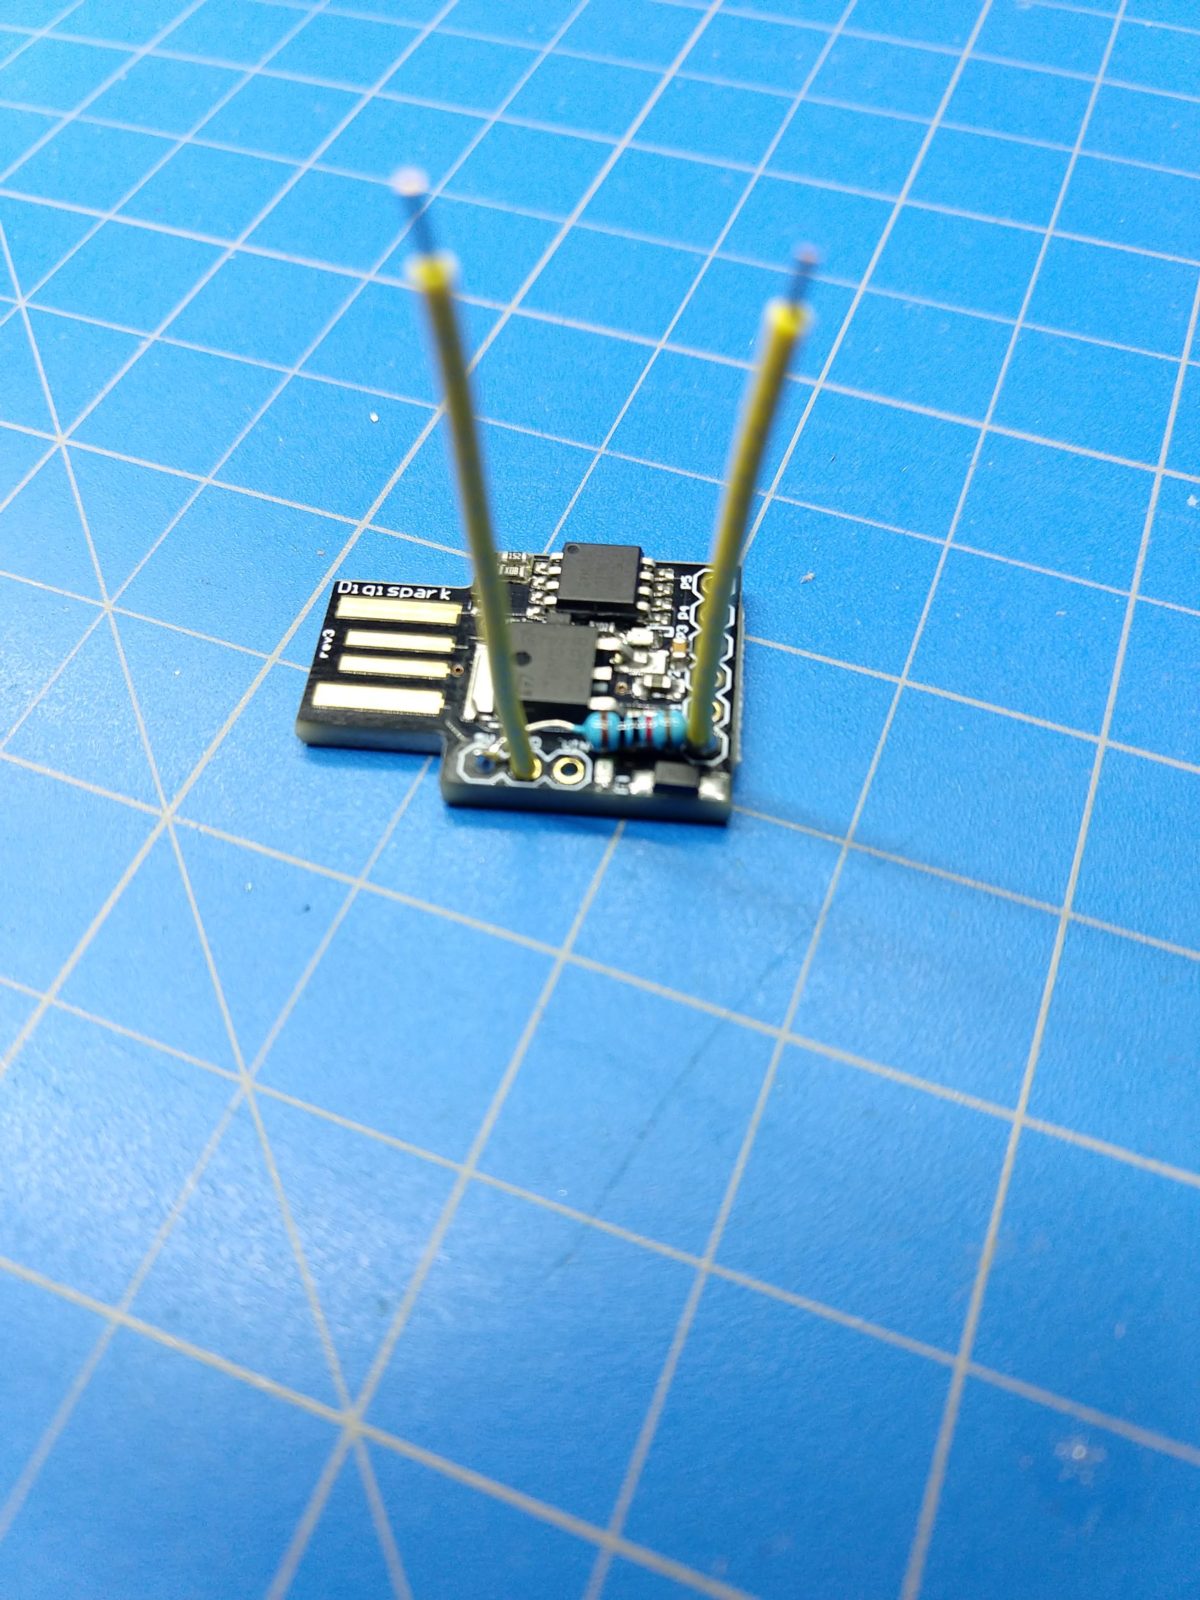
It consists of a Digispark clone board (attiny85), a resistor, and a switch. The microcontroller acts as a keyboard with with just one button, and I’m taking advantage of the keyboard shortcuts built into the zoom app. The main thing that makes this work is the fact that CTRL+ALT+SHIFT brings focus to the meeting controls. This brings the zoom window to the front if you are a participant (sometimes I toggle mute with the button just to find the window), and it also works while you are sharing your screen. A short press sends ALT+A which toggles your mute state, and a long press sends ALT+Q then ENTER, which exits the meeting entirely.
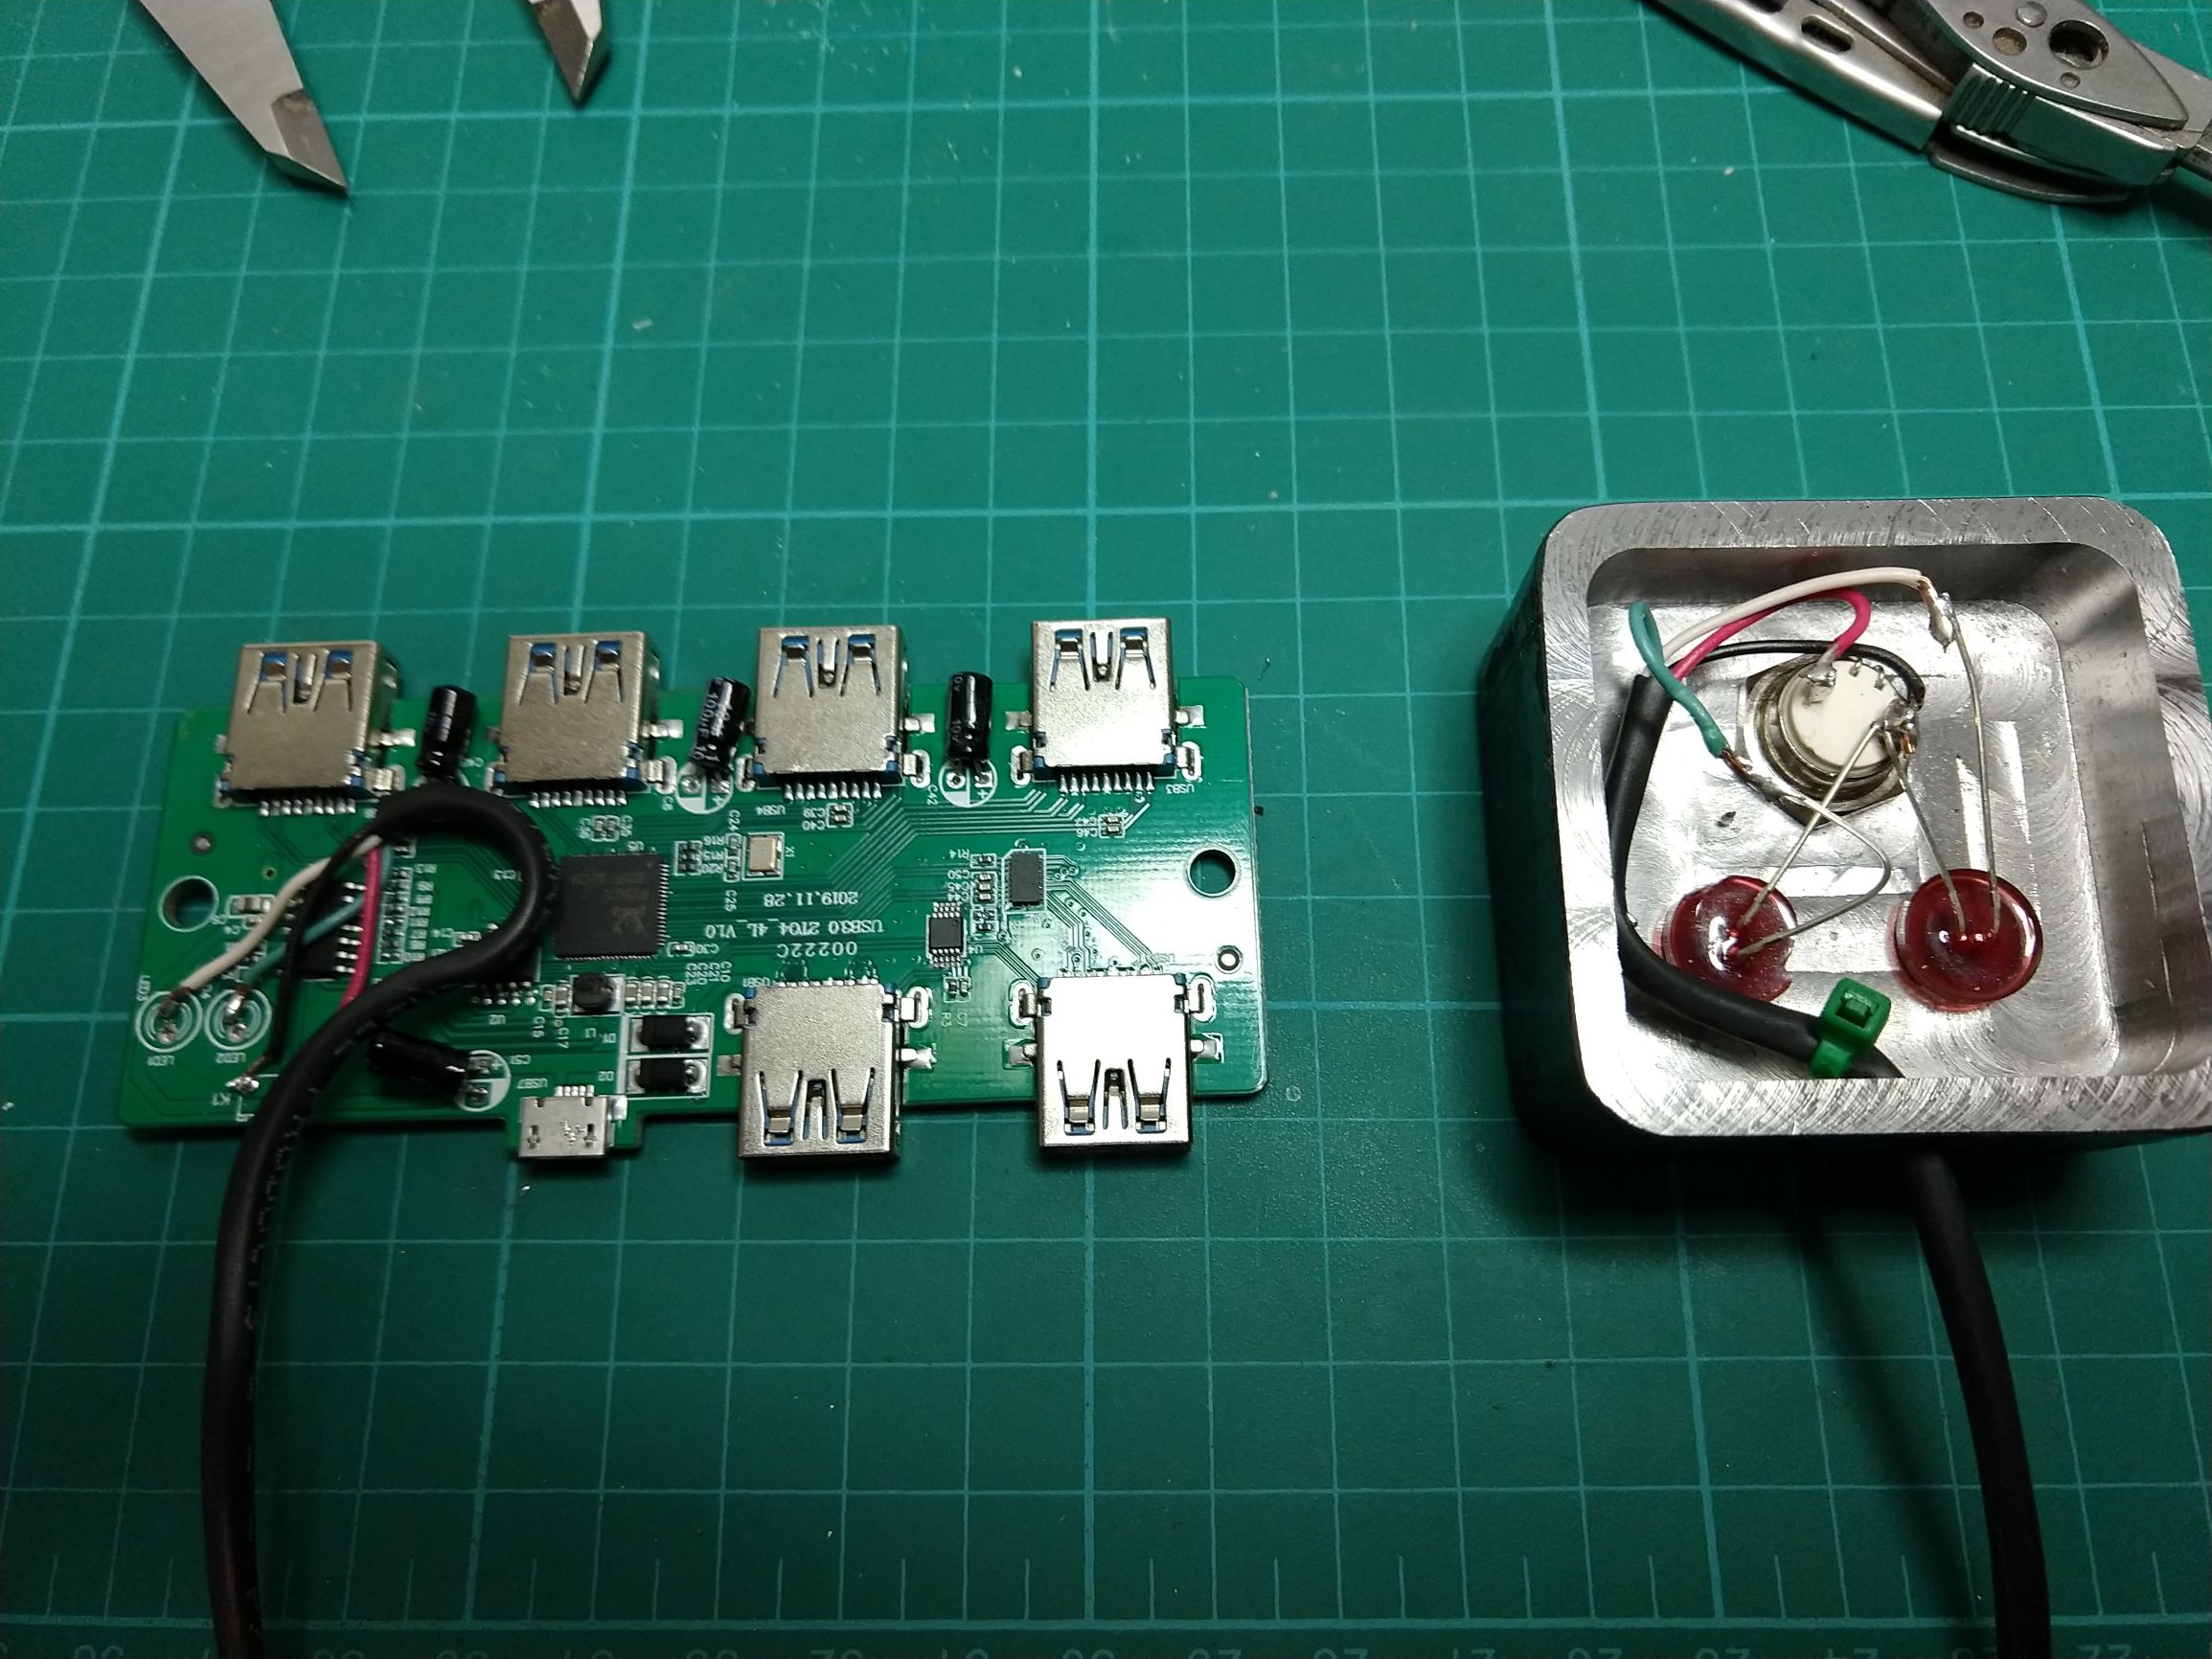
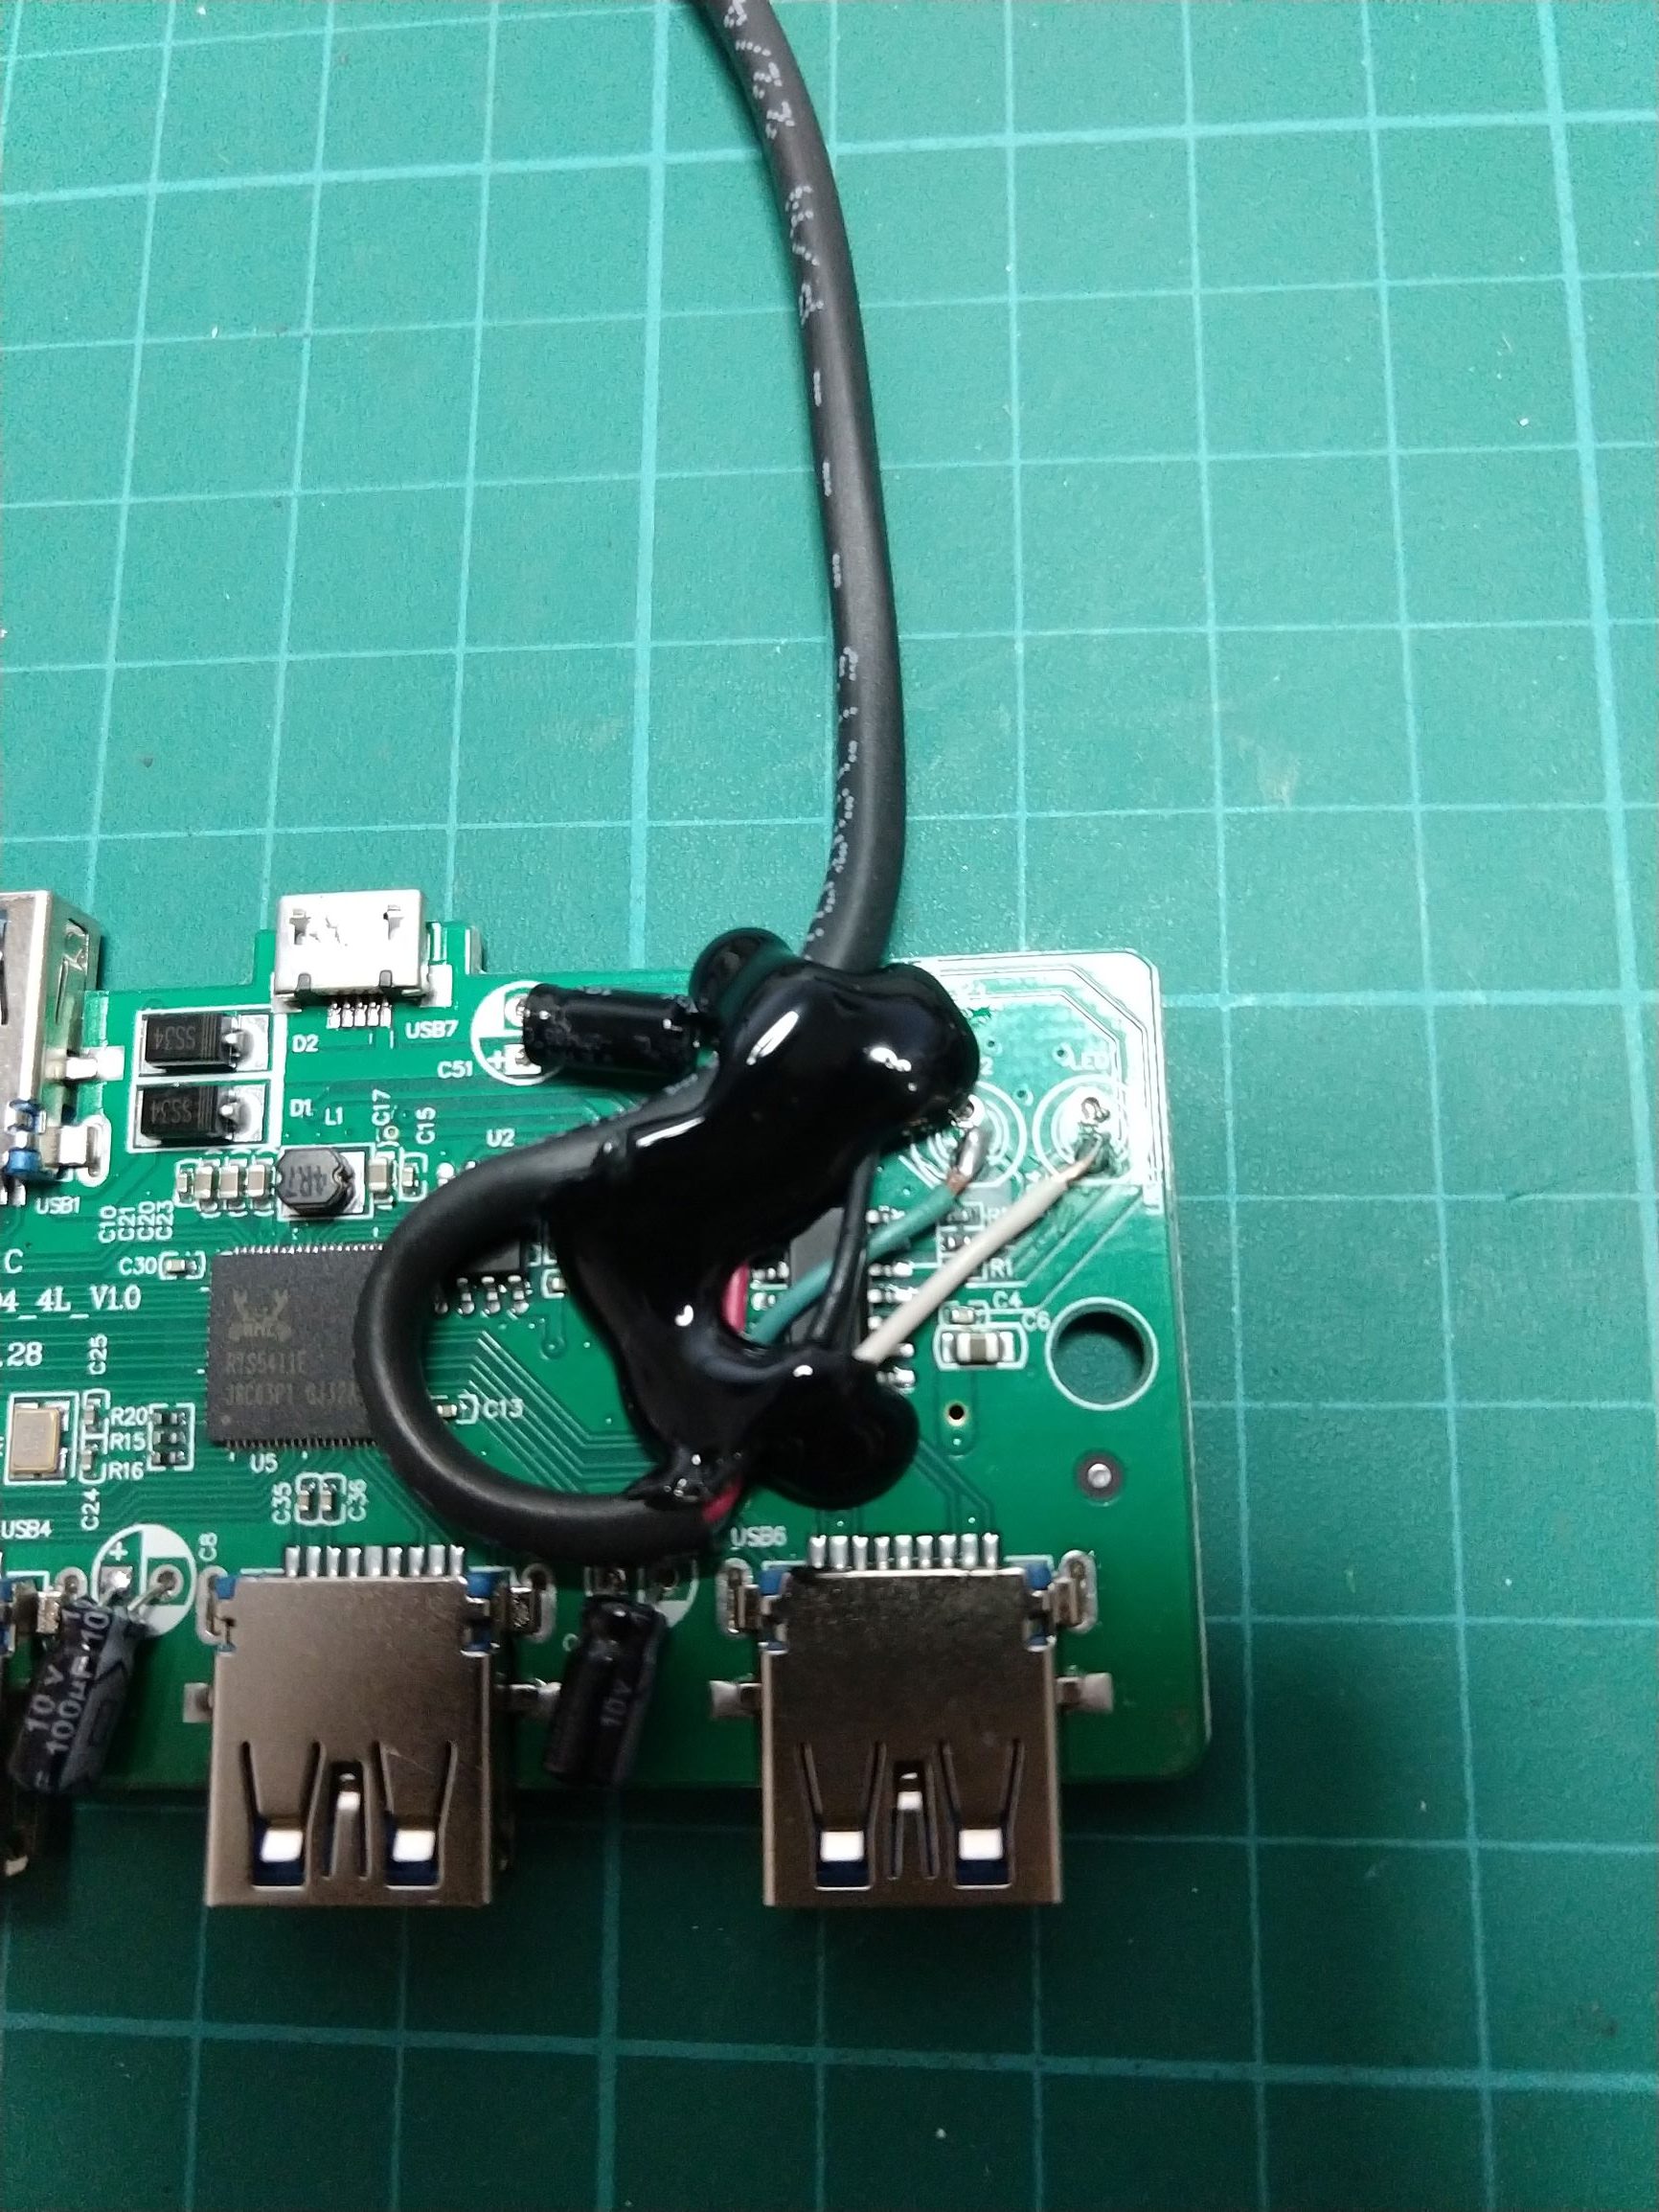
Source code will be at the end of the post, it’s a slightly modified example from the digikeyboard library. I used the Arduino IDE – you’ll need to install the digistump boards through the board manager and also get the button library I used here: https://github.com/mathertel/OneButton. The wiring is very simple, it is just a momentary switch between GND and P0, and a 10k pullup resistor between 5V and P0 (this is not required at all in fact, so you can leave the resistor out).
Ingredients 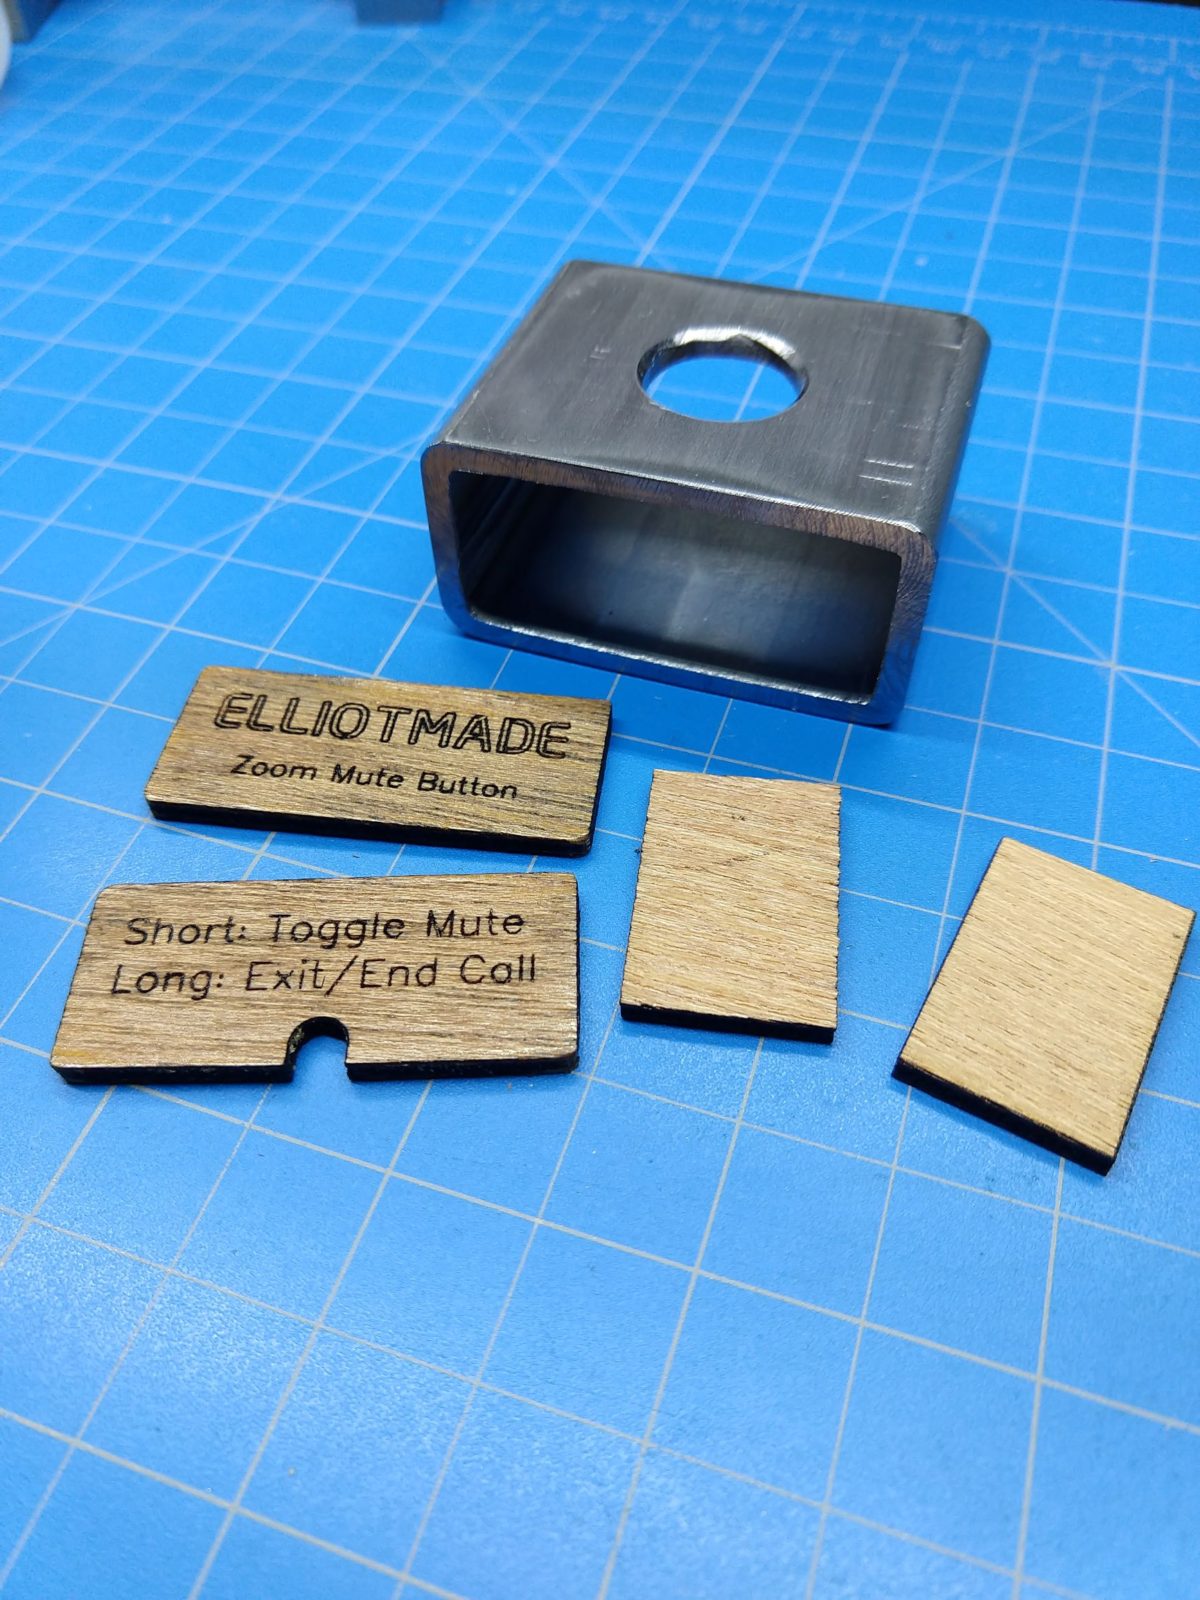
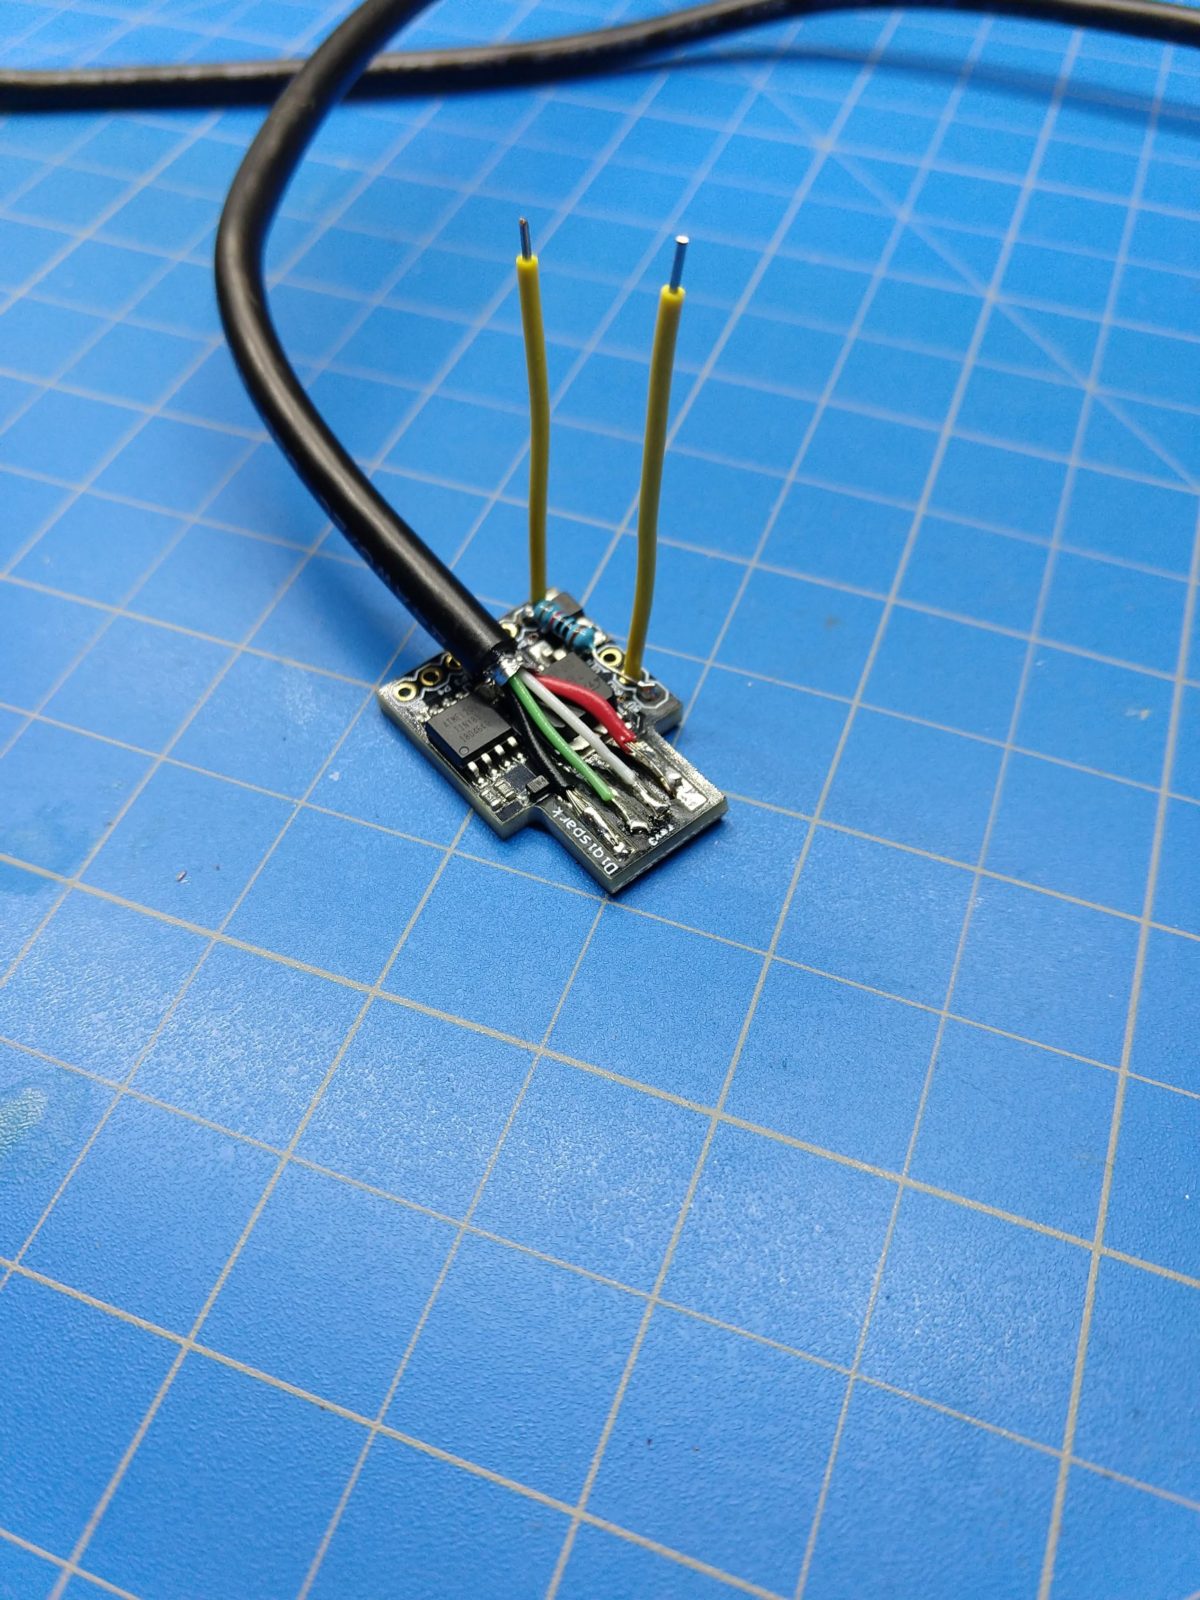
Donor USB cable 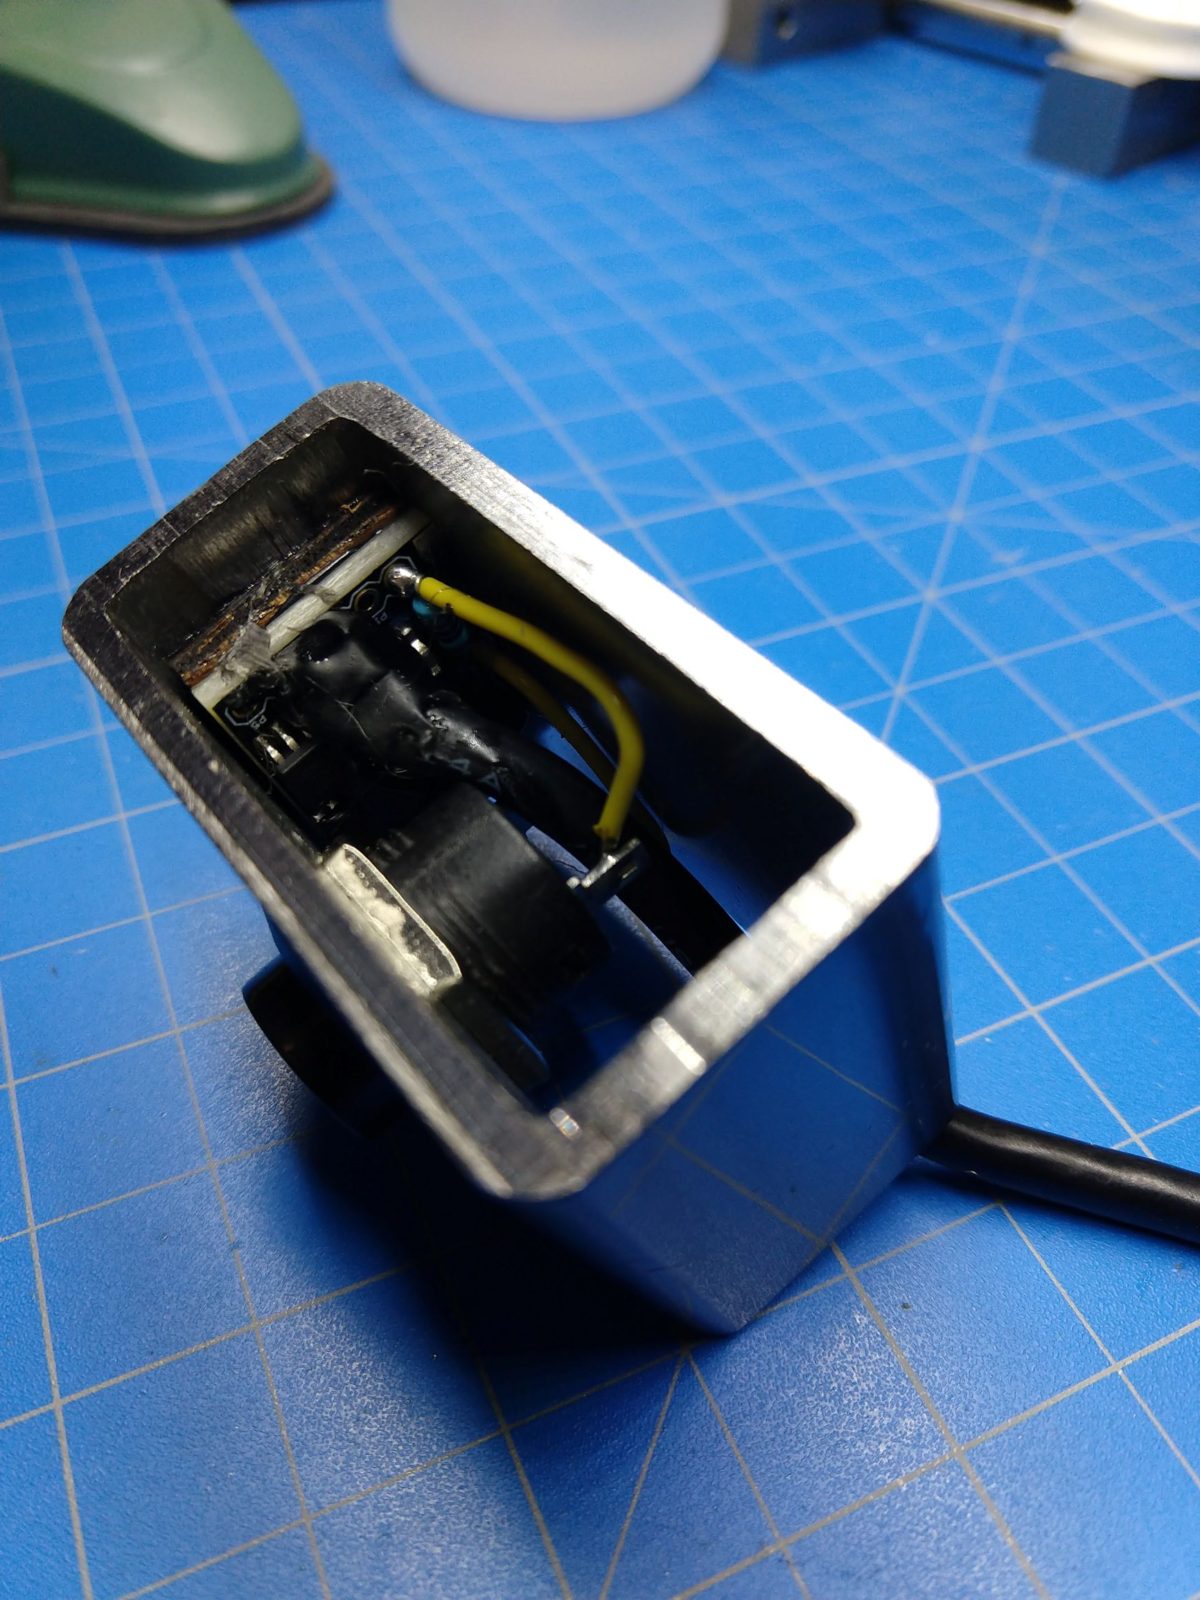
I have created an instructable for this as well, a PDF copy is downloadable below and the link is: https://www.instructables.com/id/Zoom-Meetings-Physical-Mute-Button/
//Elliotmade 4/22/2020
//https://elliotmade.com/2020/04/23/physical-mute-button-for-zoom-meetings/
//https://www.youtube.com/watch?v=apGbelheIzg
//Used a digispark clone

//this will switch to the zoom application and mute it or exit on long press
//momentary button on pin 0 with pullup resistor

//https://github.com/mathertel/OneButton
//button library
#include "OneButton.h"

int button1pin = 0;

#include "DigiKeyboard.h"

//set up buttons
  OneButton button1(button1pin, true);

void setup() {
  // put your setup code here, to run once:


  //set up button functions

  button1.attachClick(click1);
  button1.attachLongPressStart(longPressStart1);

  DigiKeyboard.sendKeyStroke(0);
  DigiKeyboard.delay(500);

}

void loop() {
  // put your main code here, to run repeatedly:
  //monitor buttons
  button1.tick();
}


// This function will be called when the button1 was pressed 1 time (and no 2. button press followed).
void click1() {
  // this is generally not necessary but with some older systems it seems to
  // prevent missing the first character after a delay:
  DigiKeyboard.sendKeyStroke(0);

  // Type out this string letter by letter on the computer (assumes US-style
  // keyboard)
  DigiKeyboard.sendKeyStroke(0, MOD_SHIFT_LEFT | MOD_CONTROL_LEFT | MOD_ALT_LEFT);
  DigiKeyboard.delay(100);
  DigiKeyboard.sendKeyStroke(KEY_A, MOD_ALT_LEFT);


} // click1


// This function will be called once, when the button1 is pressed for a long time.
void longPressStart1() {
  // this is generally not necessary but with some older systems it seems to
  // prevent missing the first character after a delay:
  DigiKeyboard.sendKeyStroke(0);

  // Type out this string letter by letter on the computer (assumes US-style
  // keyboard)
  DigiKeyboard.sendKeyStroke(0, MOD_SHIFT_LEFT | MOD_CONTROL_LEFT | MOD_ALT_LEFT);
  DigiKeyboard.delay(50);
  DigiKeyboard.sendKeyStroke(KEY_Q, MOD_ALT_LEFT);
  DigiKeyboard.delay(50);
  DigiKeyboard.sendKeyStroke(KEY_ENTER);

} // longPressStart1